The New Way to Drybrush
Whilst we all learnt using kitchen roll to get the paint off the brush, we know it doesn’t provide the best results. The kitchen roll will soak up most of the moisture, and cause a grainy-looking finish on your model.
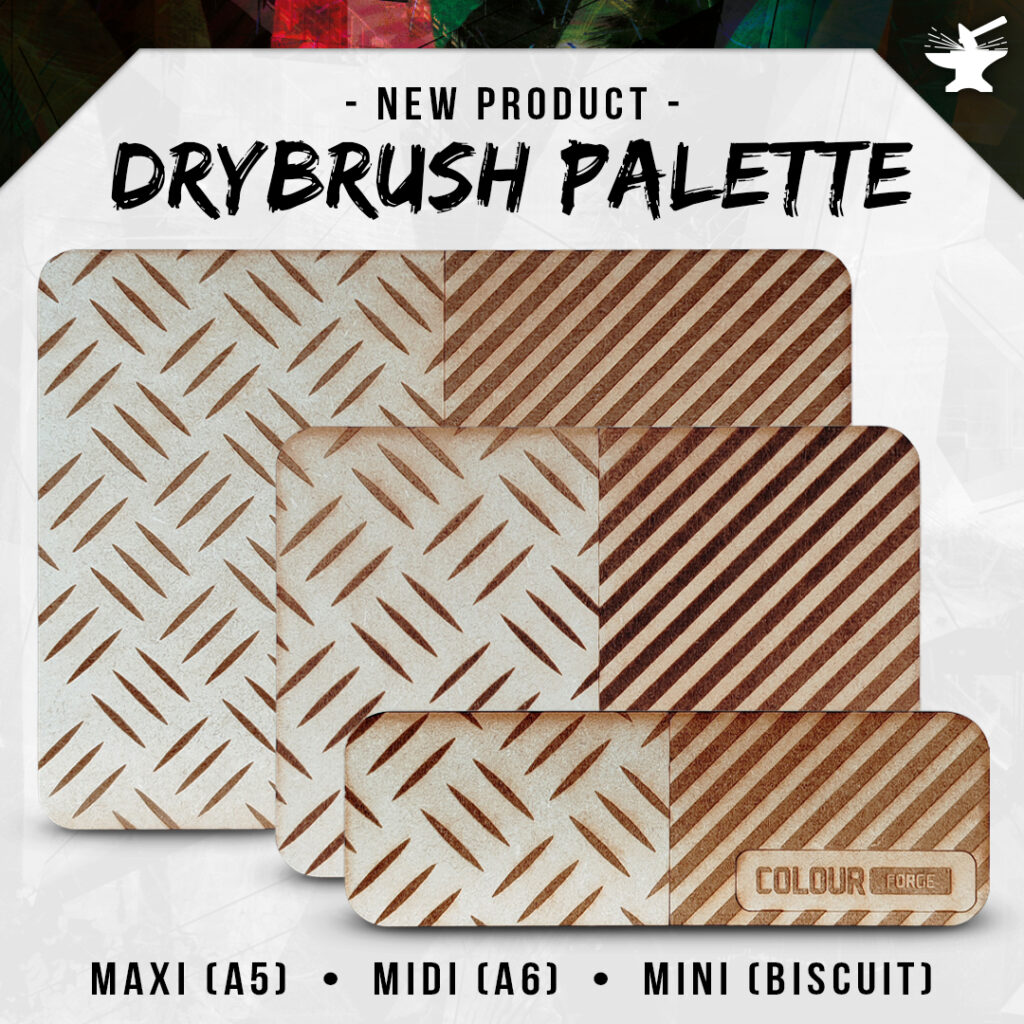
We got fed up of finding new surfaces to wipe our brushes on. We got sick of Macgyver-ing drybrush palettes from whatever we had lying around. So we thought we’d fix the problem properly with our new MDF Drybrush Palette!
And here’s how to use it:

1. Prime the MDF
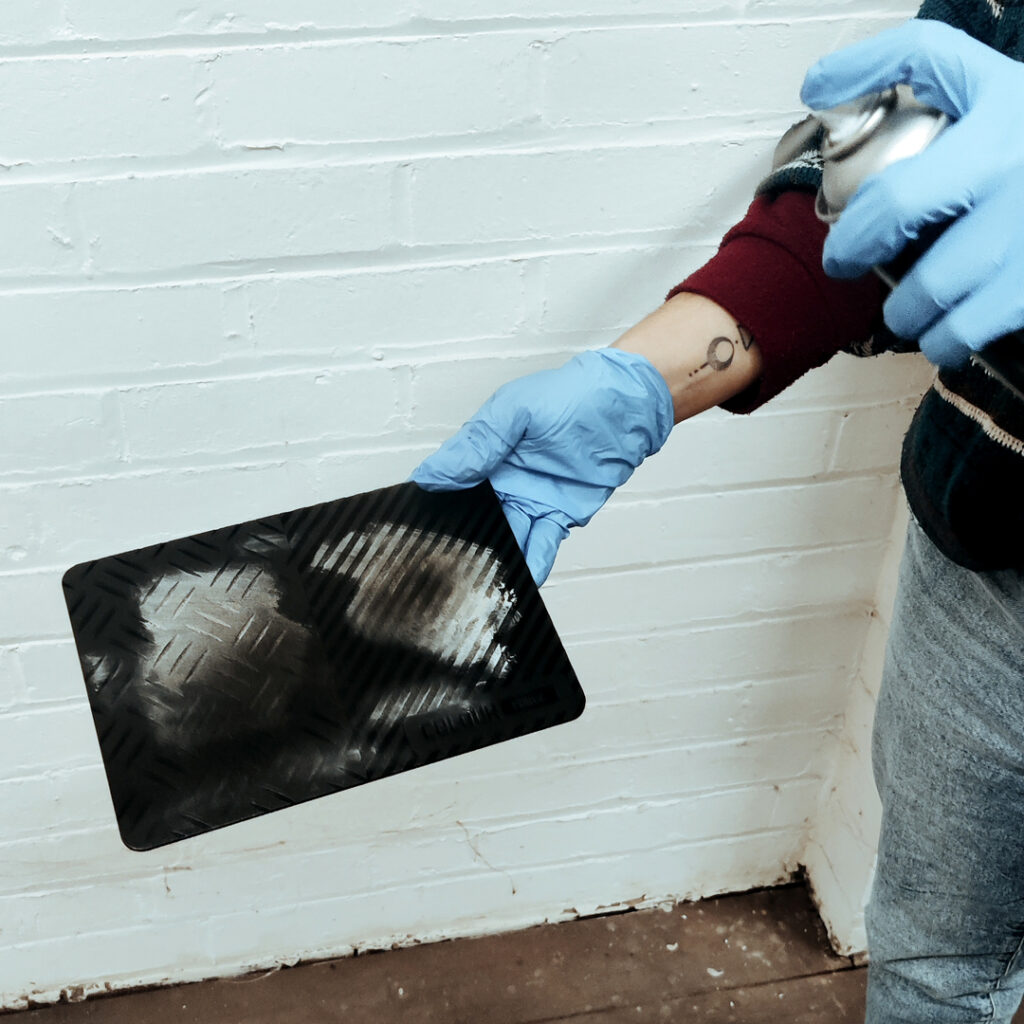
We know you’re eager to get going, but first, you’ve got to prime the MDF board. And of course, it’s best primed using one of our signature sprays.
Give it a good coat all over with the spray paint and make sure it’s fully covered.
Wait (how long-ish) until the board is completely dry before using it as a palette.
We recommend using the same colour primer that you’re using on the minis you’re going to be drybrushing, that way you can use the palette to test how the drybrushing will look each time you load up your brush, and before you go near your model.
2. Drybrush the Palette Before Painting
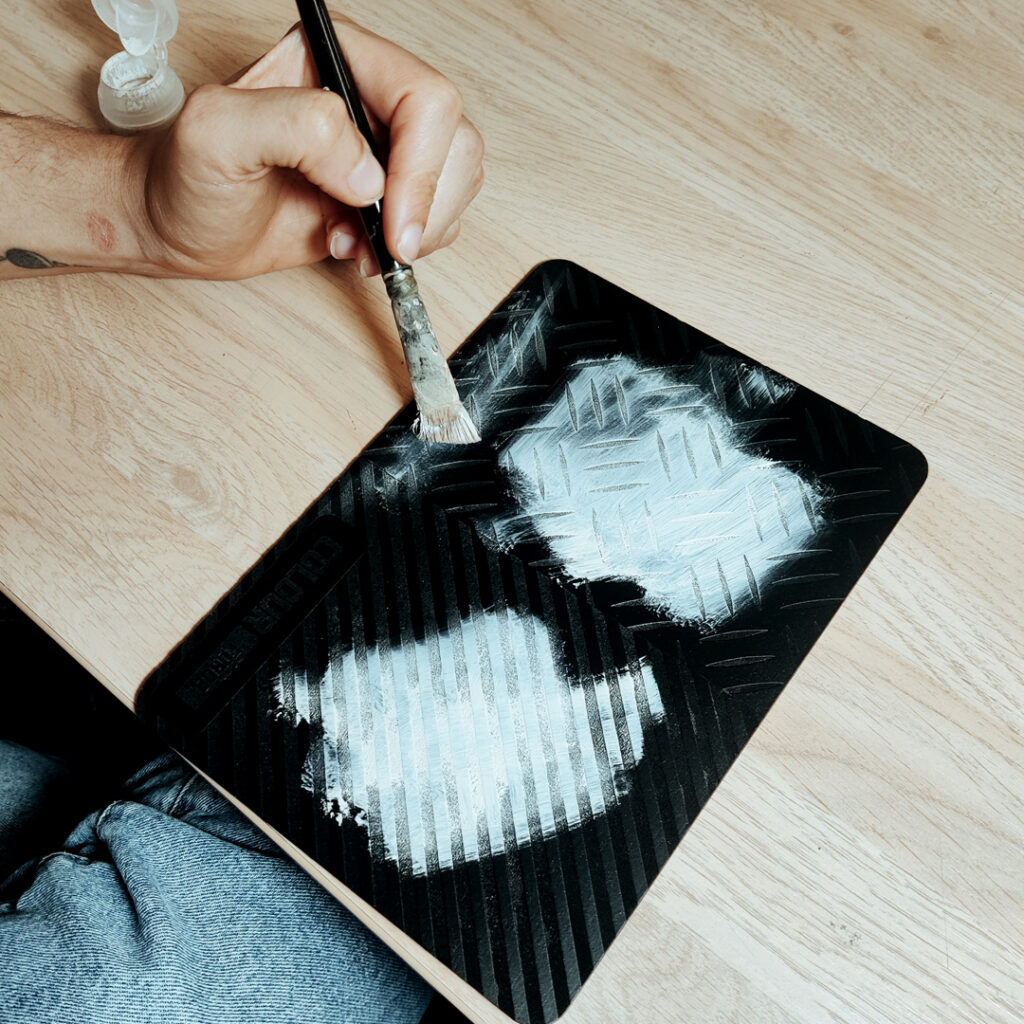
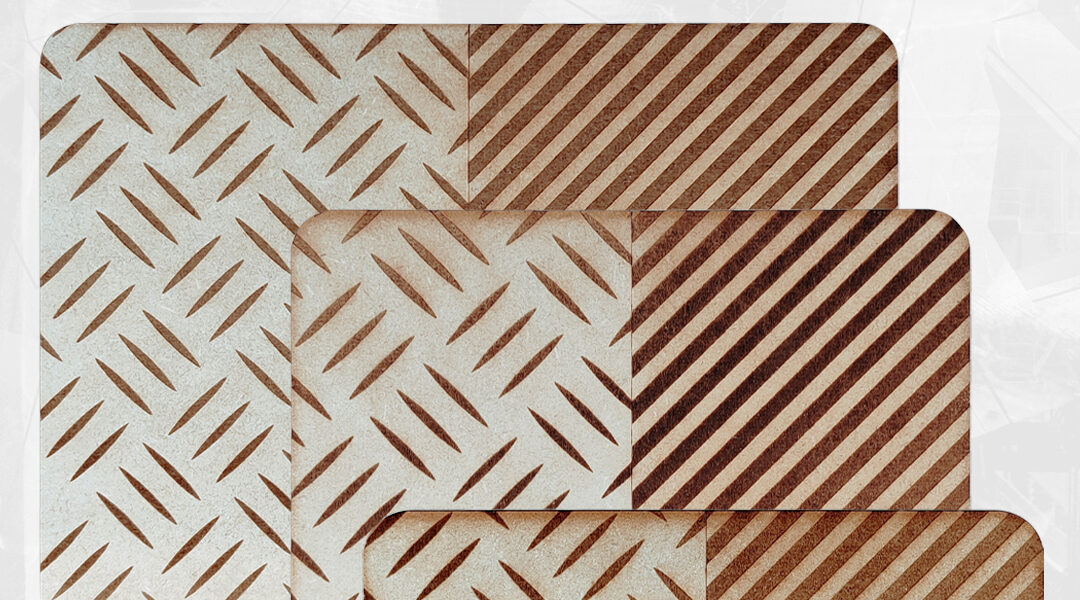
Once the palette is dry, it’s time to get painting! The patterns aren’t just to make it look good. We’ve designed the palette with 2 different sets of grooves so you can control how much of the excess paint is removed. Simply wipe your brush across the surface, making sure to get most of the wet paint off your brush before painting your miniature.

3. Prime Again

Once you’ve finished using the palette, you can just give it another coat of primer and you’re all good to go again for another round of drybrushing.
And it’s really as easy as that! So it’s time to bin the kitchen roll for good and start using our MDF palettes for the best drybrush experience for your miniatures.


