

Newbie Tests Out Zenithal Bundles – Painting Miniatures as a Beginner
- Posted by stuartl in Colour Matched Spray Primer, Tutorial
- No Comments
We can tell you all until our lips turn blue about how easy using Zenithal is for getting your miniatures ready for the tabletop. But if you’re a complete beginner, how simple is this method to pull off?
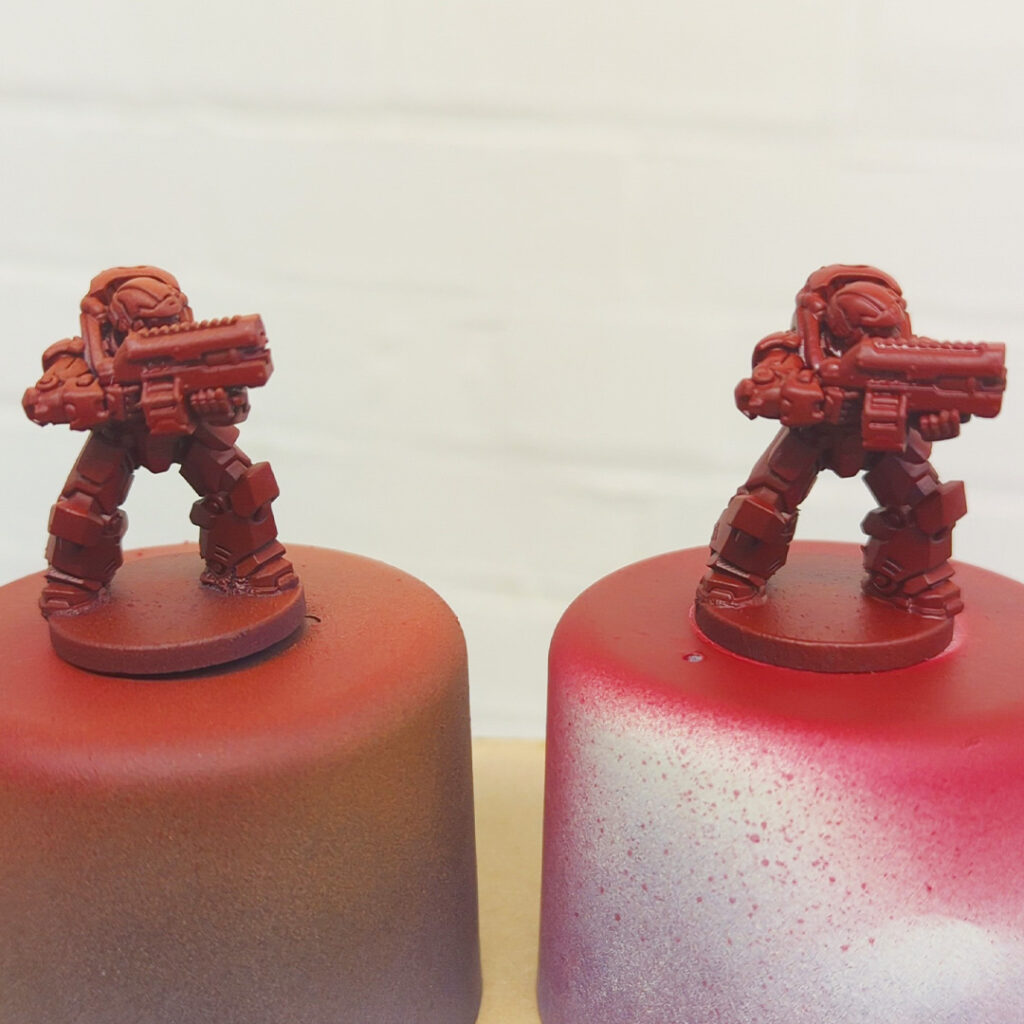
We enlisted Jess from the office who hasn’t painted miniatures before to test out our Zenithal method. She tested out the Red Zenithal and the Monochrome Zenithal. The Monochrome Zenithal was finished with contrast paints.
Let’s follow her journey!
1. Start with a Zenithal
Obviously, my first port of call was the Zenithal undercoat! I started with the Monochrome Zenithal and was told by the other hobbyists that I needed to go heavier on the zenithal so the contrast paints would show up. At first, I was worried about losing the details on the model, so I carefully checked how the miniature looked before adding another layer between coats. I did have to keep adding more paint than I thought at first, but this definitely helped the end effect!
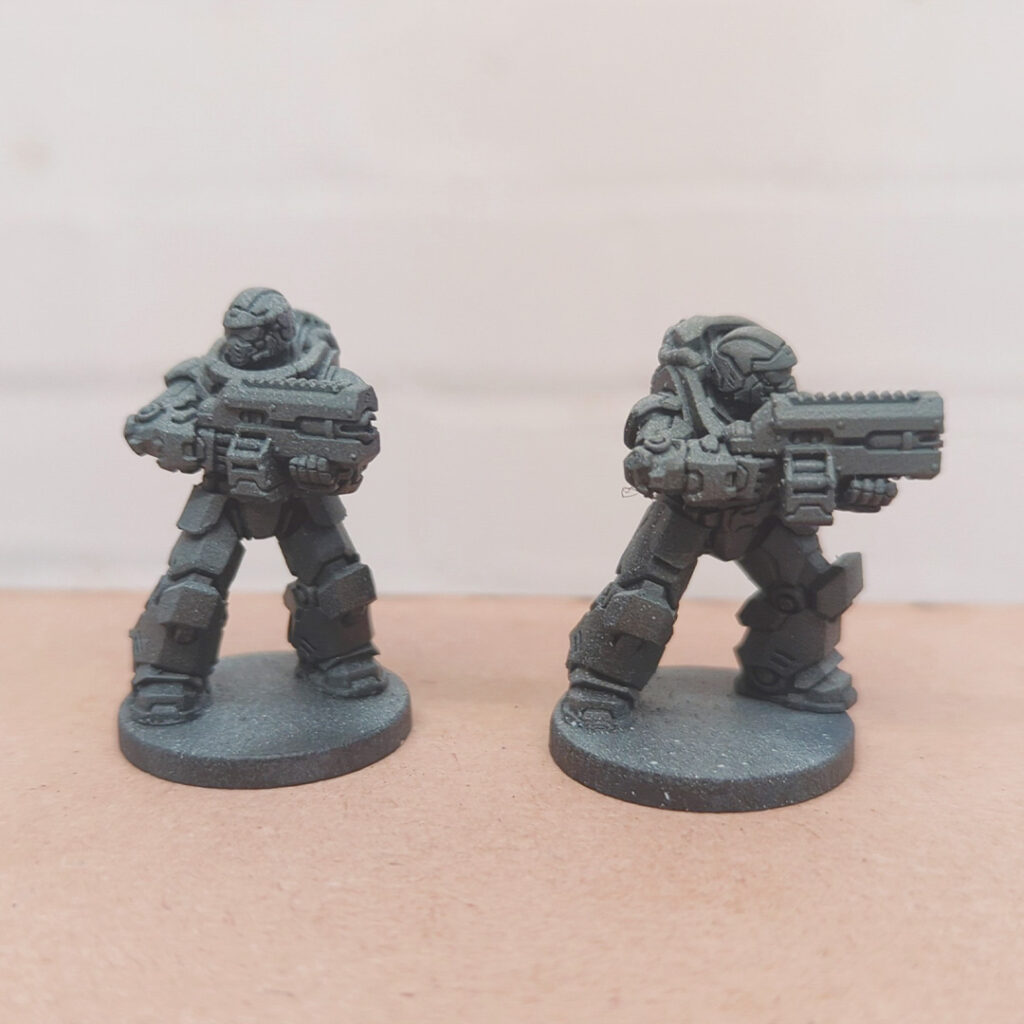

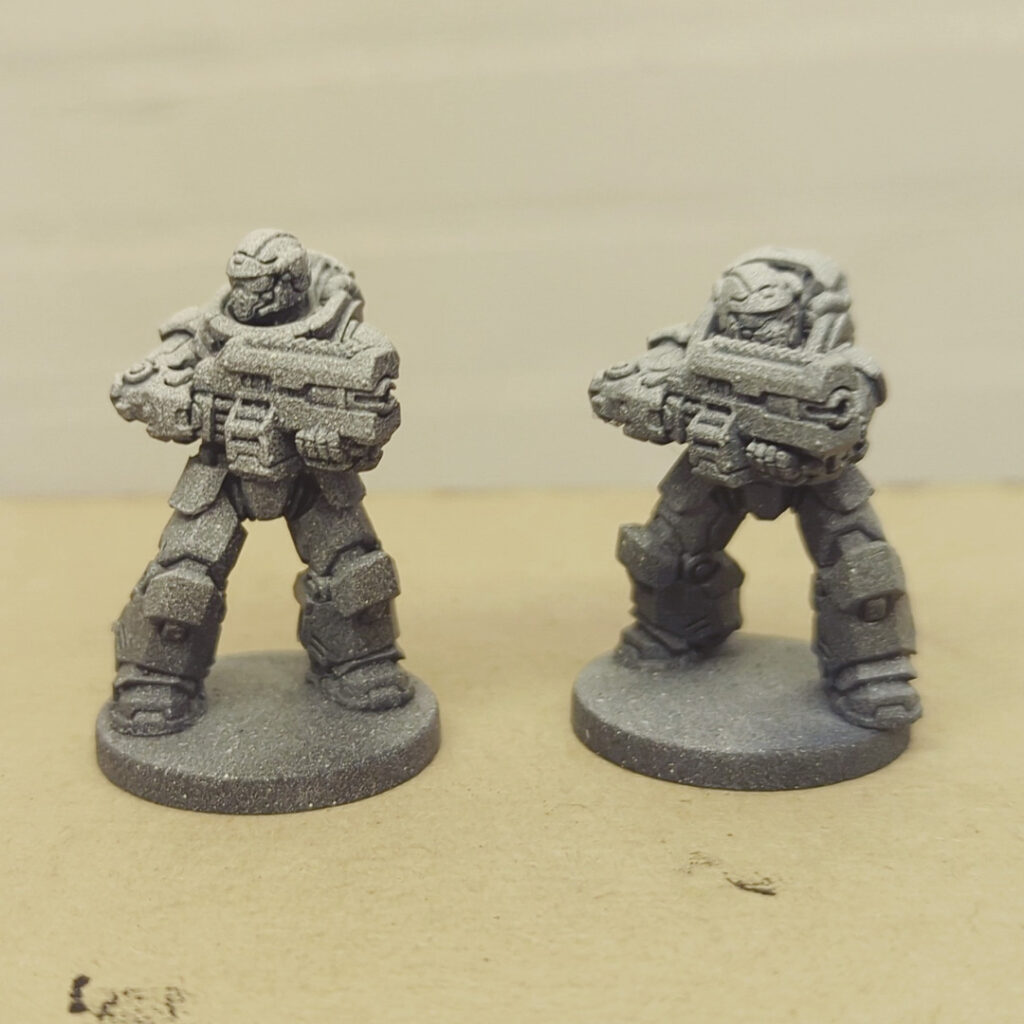
The Red Zenithal was super quick, and only needed a few spritzes of the Convict Orange on top for the Zenithal effect to take hold. I found this step super easy and satisfying to watch those tones build up. This step took me approximately 30 minutes in total, and only took a bit longer as I had to keep adding layers for the Monochrome Zenithal!
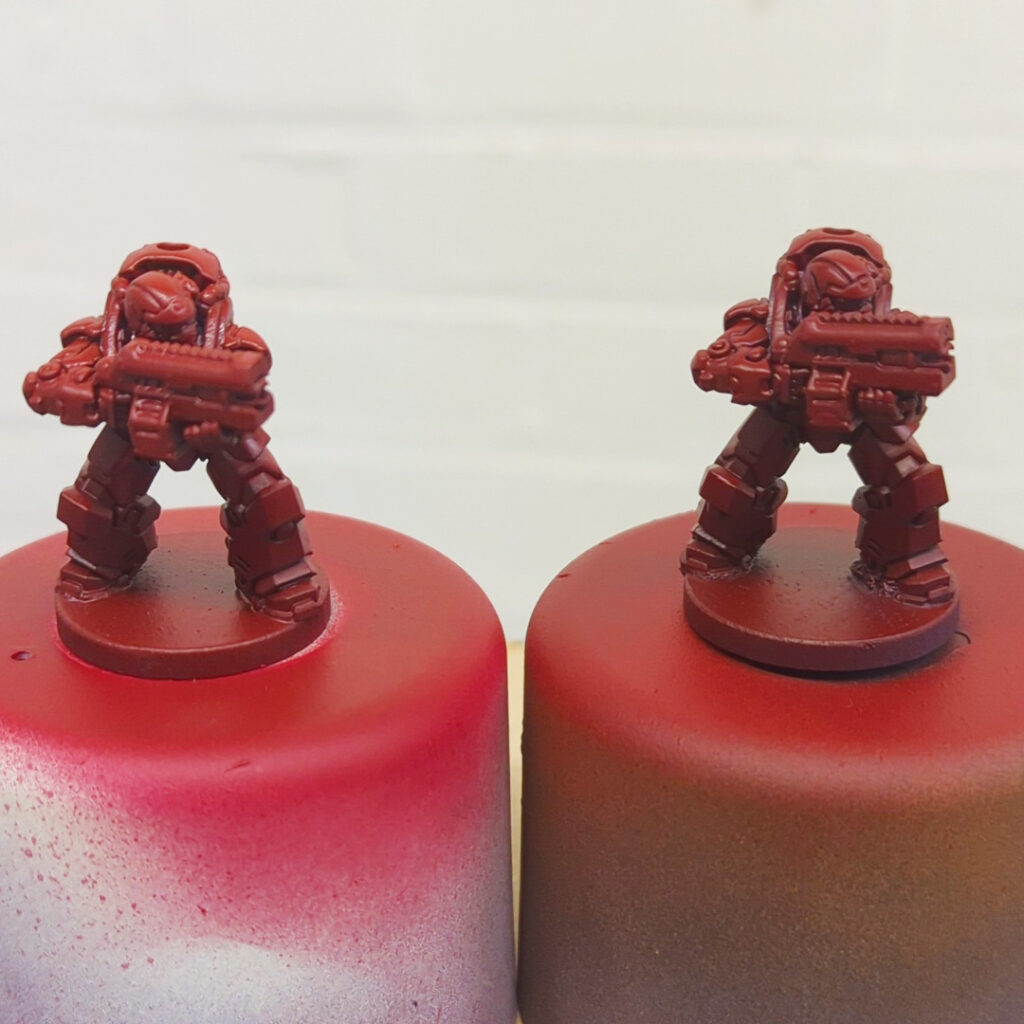
2. Get to Painting
For the Red Zenithal, the painting step was very straightforward. It felt like more of a painting by numbers than anything too complicated! I painted the gun black, as well as the pipes and left it to dry. After, I added in the silver details, and coloured the visor white with a layer of green on top.
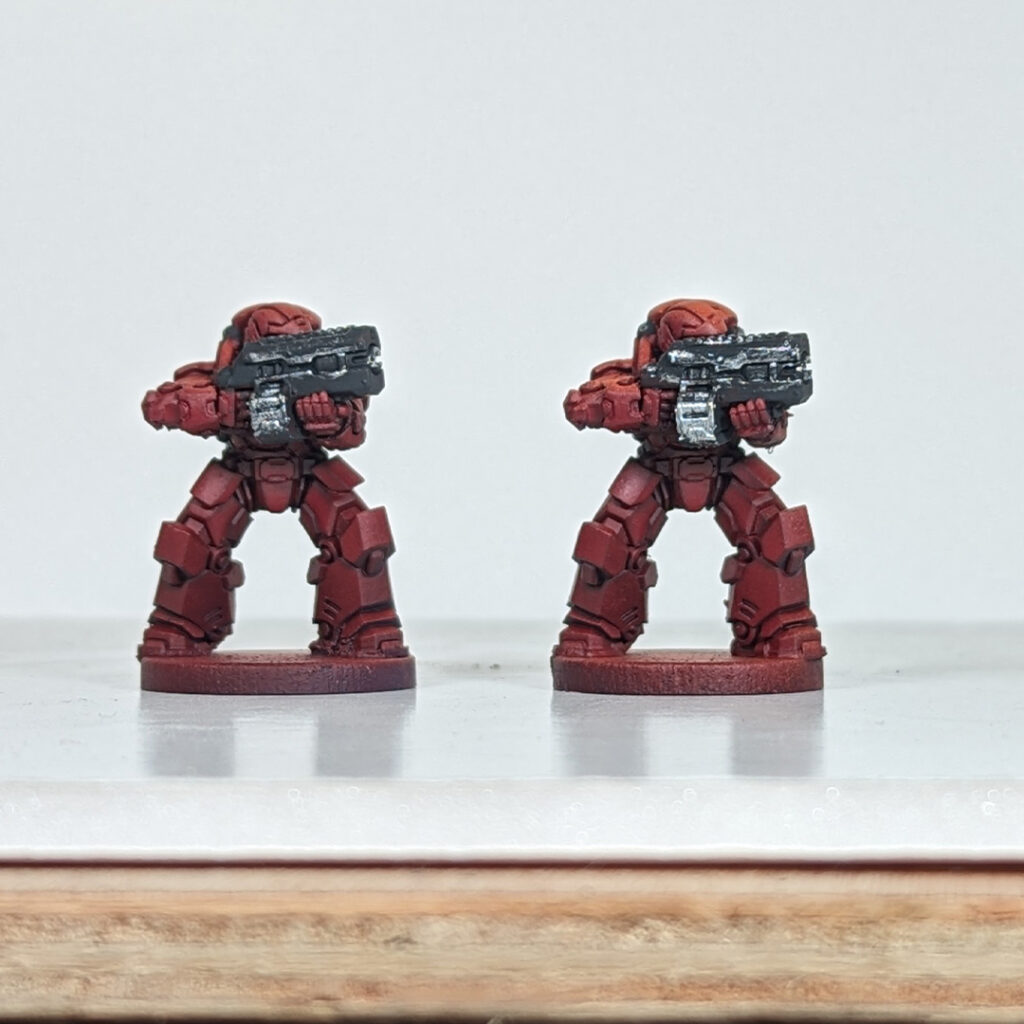
Again, for the contrast paints, I had to get used to the idea of layering thin coats of paint onto the model, ensuring the paint got into all the recesses. This took a bit of extra time and guidance to make sure all the undercoat was covered in the paint!
This step took me 10-15 minutes on the red model, and then 25 minutes for the contrast paints.
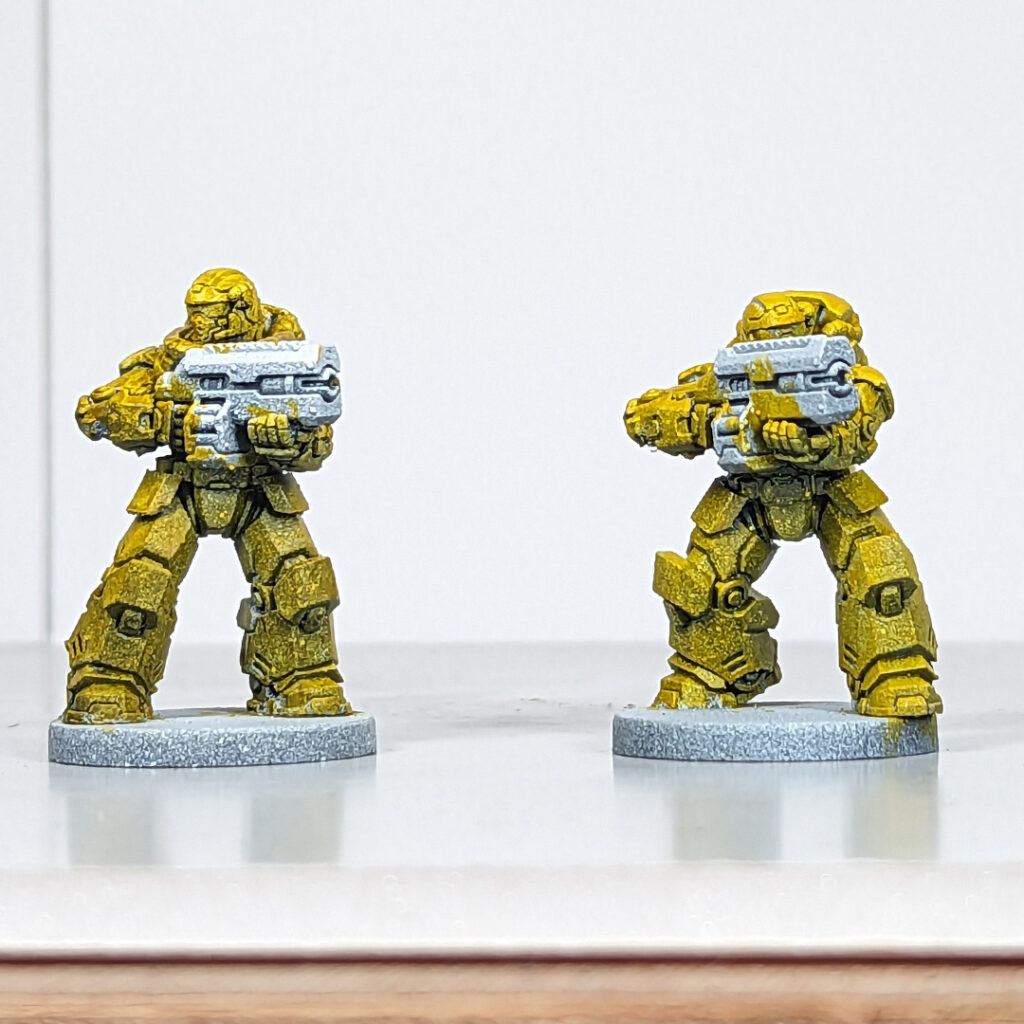
3. Finish Up With Edge Highlighting
For a complete newbie, this was more difficult than I anticipated, Although I was given some guidance, it took me a few attempts to get it right. I think this step definitely requires a bit more practice!
This was definitely the most fiddly step, and I think it took me about 15 minutes on one model. But if you’re not a complete newbie, I’m sure it will take you less time.
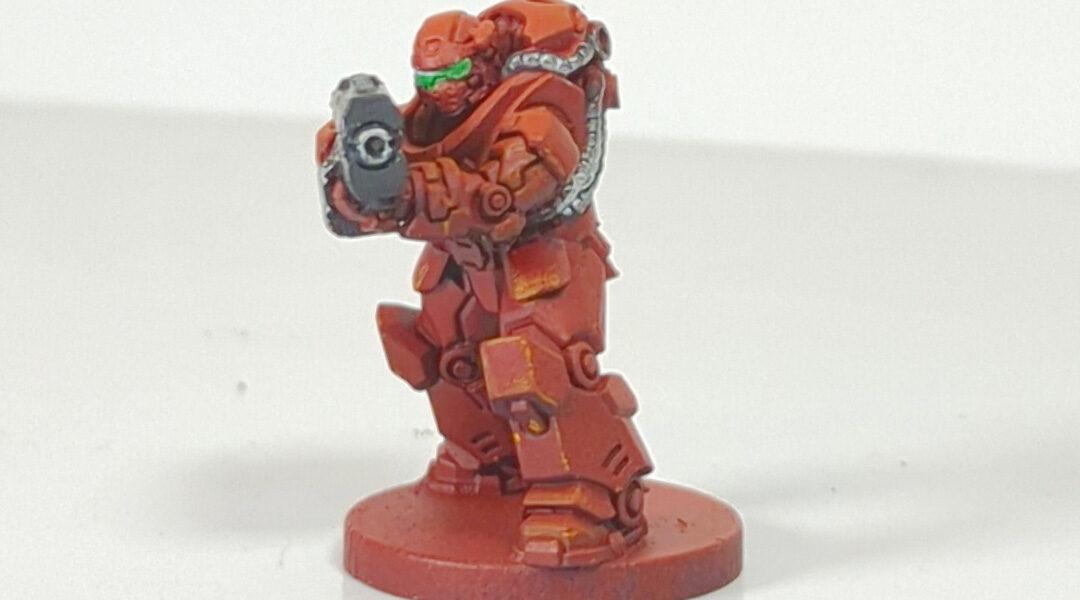
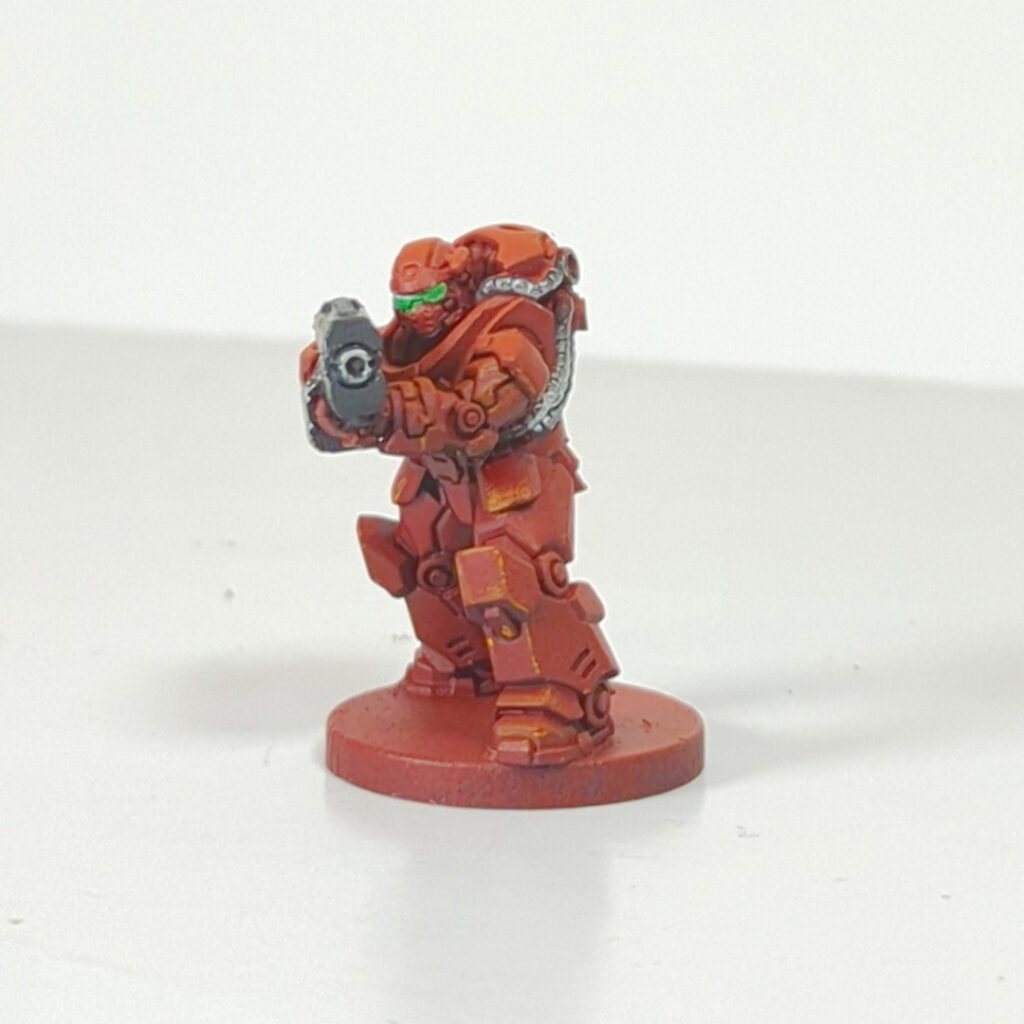
4. Final Thoughts!
All in all, the Zenithal made the first step of my painting journey a lot easier, especially the red one. I just had to fill in the details, and then my mini was basically done!
Painting on the contrast paint was a little bit more difficult, but I think that’s only because I’m not used to working with contrast paints.
But this has definitely given me the confidence to start painting my own models, and that miniature painting isn’t all that scary!
Check out our Core and Signature Series ranges and pick up 3 primers to try your own Zenithal Schemes