

How to Get your Miniatures Battle Ready
- Posted by stuartl in Colour Matched Spray Primer
- No Comments
Getting your army to a great standard for the tabletop doesn’t have to take months of precious hobby time, and we’re here to show you our quick and easy process to take your miniature from grey plastic to battlefield-ready.
Start with a Zenithal
Of course, it starts by grabbing one of our new Zenithal bundles to prime that gross grey plastic. This is an effective way to make your miniature look brilliant, providing highlights and shadows without putting in loads of effort.
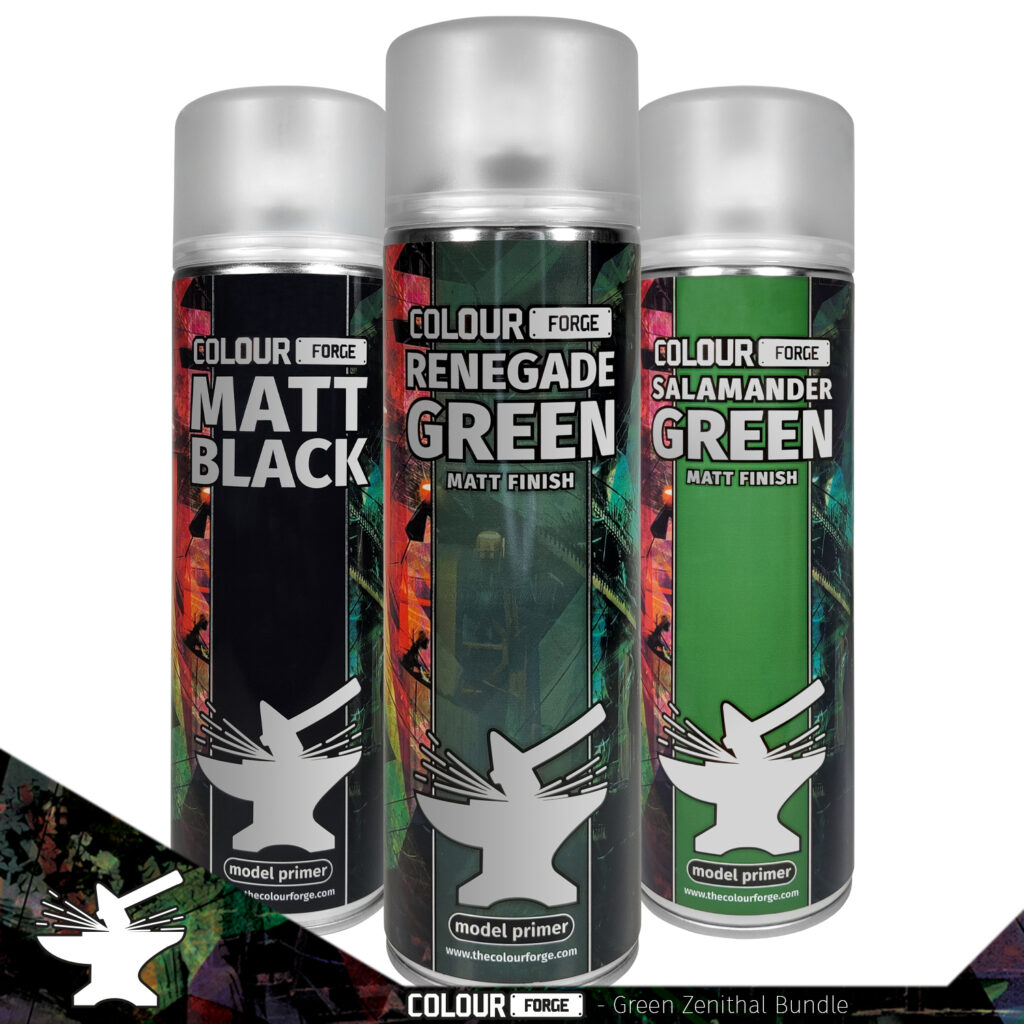
We’ve created a range of bundles that cover any type of project, and each of these contains a complementary dark, mid and light tone to create a zenithal effect. You can check out our entire range here.
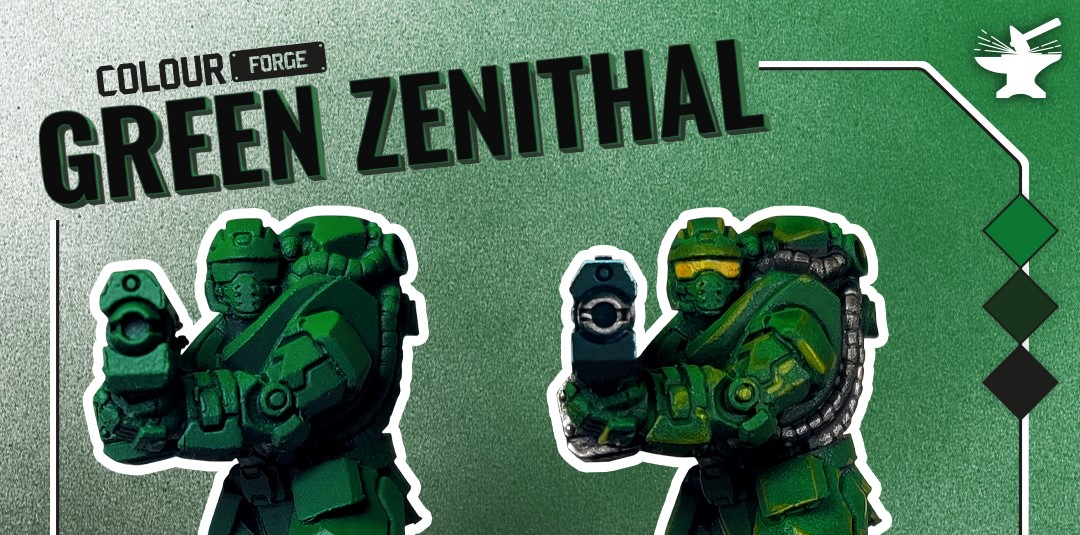
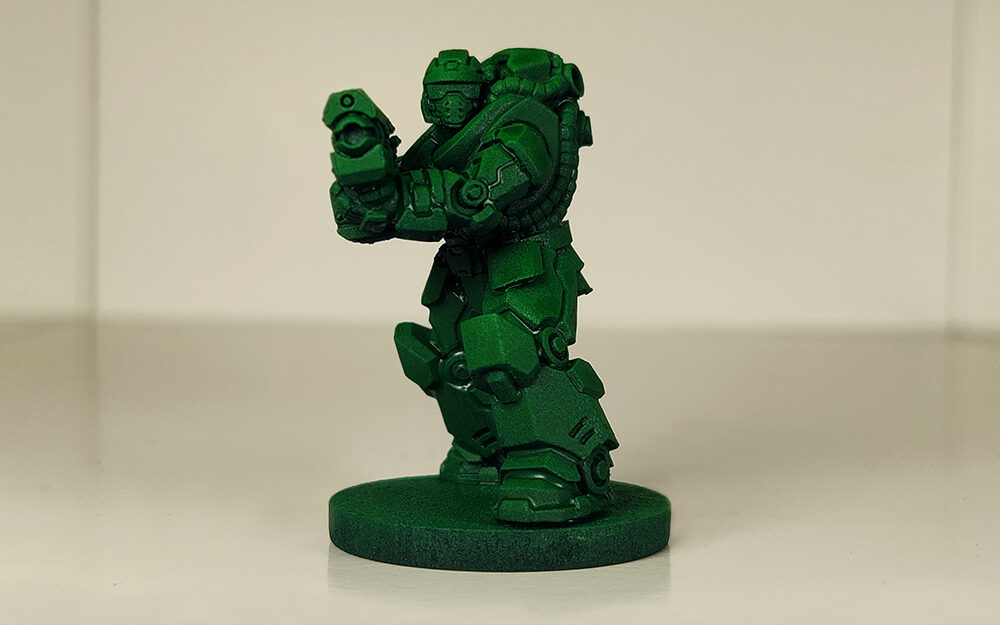
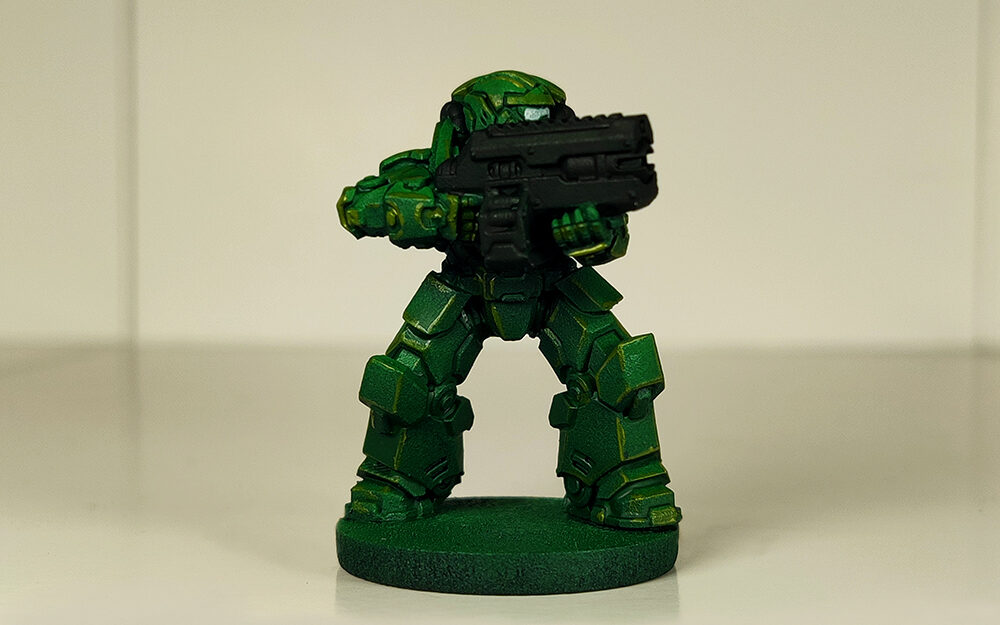
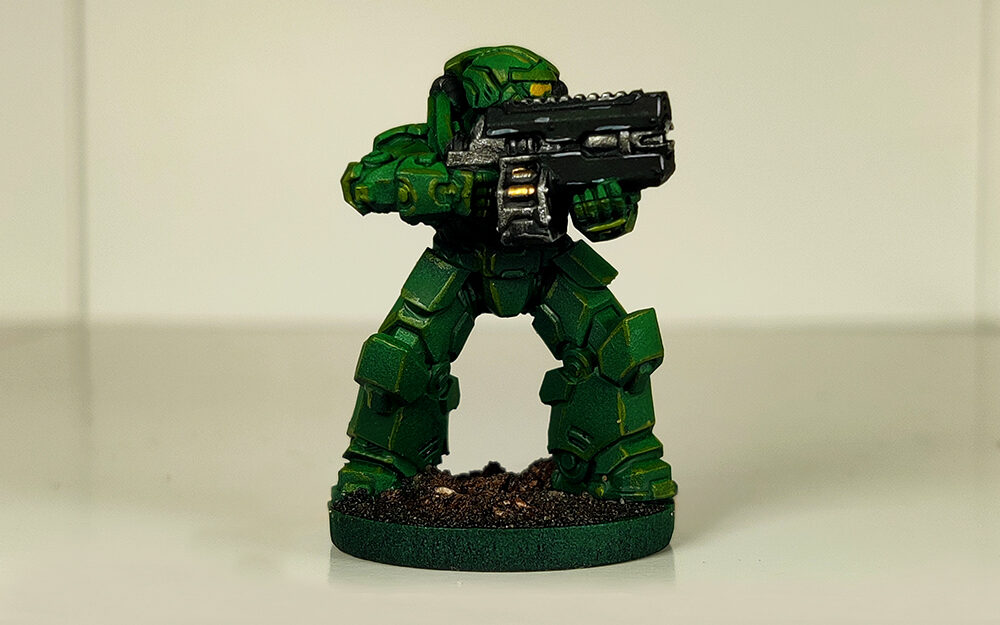
We’re using the Green Zenithal bundle for our mini. As always, start priming your entire model using the dark tone, and we’ve used old reliable Matt Black. Next, you want to use that mid-tone to catch one area of light. You’ll want to hold your mini at a 45-degree angle (or thereabouts) and spray from one angle whilst you turn your model slightly. In this case, we’ve used Renegade Green.
Finally, we want to use the light tone to catch the top details of the model. Here, we’ve used a quick spritz of Salamander Green aimed directly above the mini to get that final look.
Get Painting
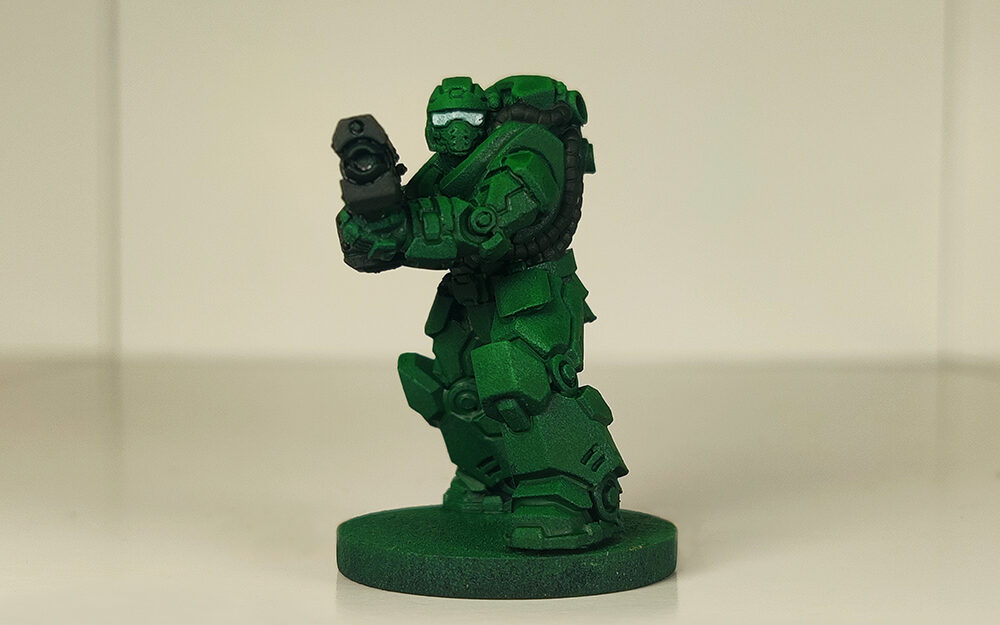
After the zenithal it’s easy to build up colour on your model. We started by smoothing out that gradient between the dark, mid, and light tones.
As we’re wanting to highlight the green colour on our model, we’re going in with a 60/40 mix of Citadel Warp Lightning and Citadel Contrast Medium. The contrast medium helps to thin down the paint so the zenithal underlayer will be more visible.

We then decided to block in any part of the miniature that wasn’t going to be green. This includes parts of the weapon, the pipes and any areas of metallics on the model.
Add Some Edge Highlights
Now it’s time to add a quick edge highlight to the miniature! Here, you want to focus on the main edges of the model that would catch the light. Focusing on picking out these highlighted areas is another way to save you time, complement the zenithal effect, and increase the overall standard of the miniature. Create a 50/50 mix of Citadel Imperial Fist Yellow and Citadel Warp Lightning and use the flat edge of your brush to create the highlights.
Pick out the Details
Pick out a few details to really make the model stand out.
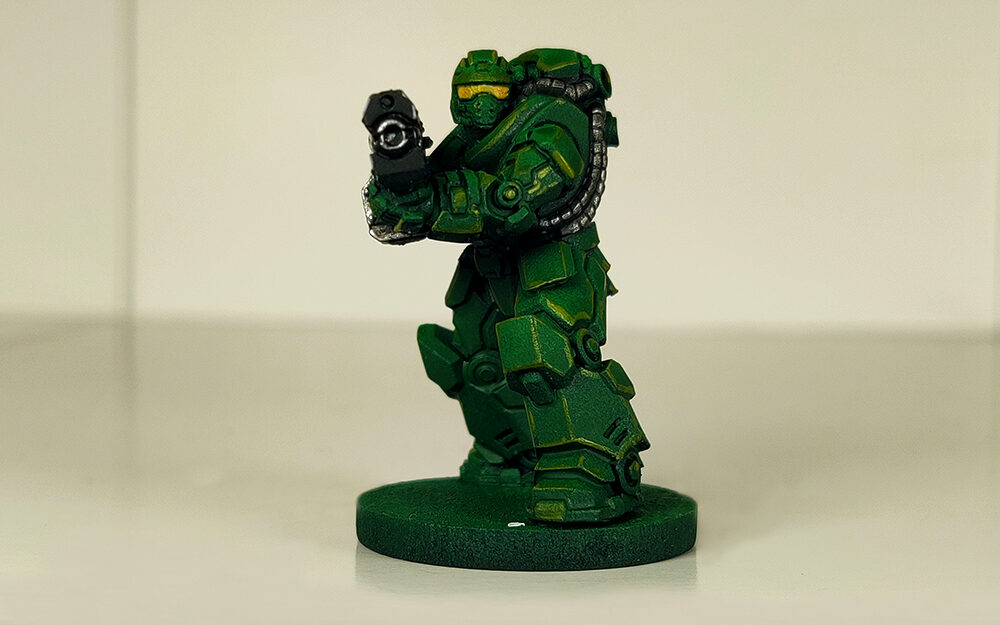
Start by painting the metallic areas of your model. We’ve used Darkstar Molten Metals Silver to cover the gun sections and the pipes. Then, wash these areas with Citadel Nuln Oil.
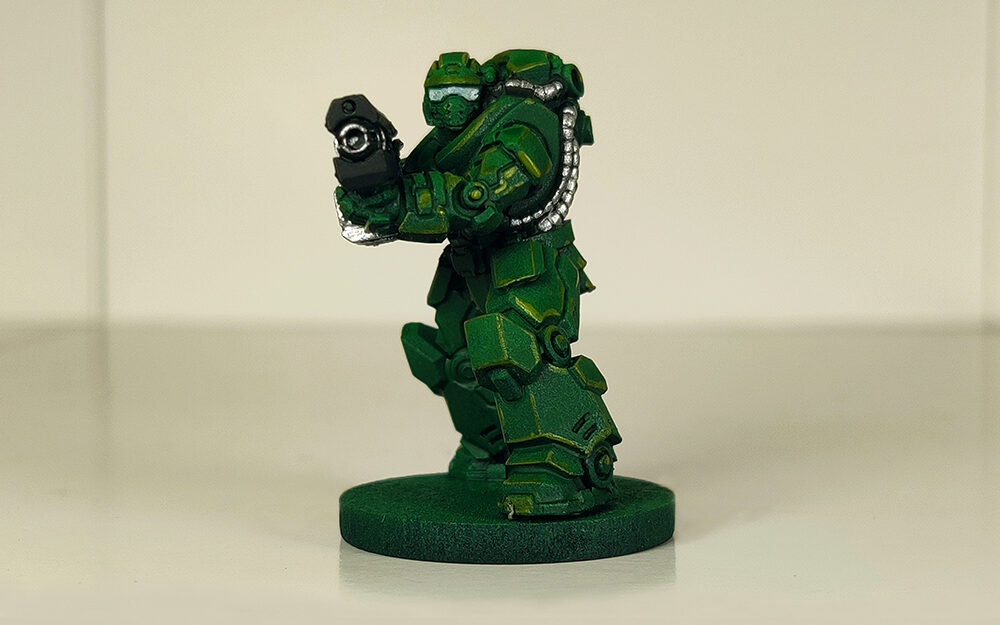
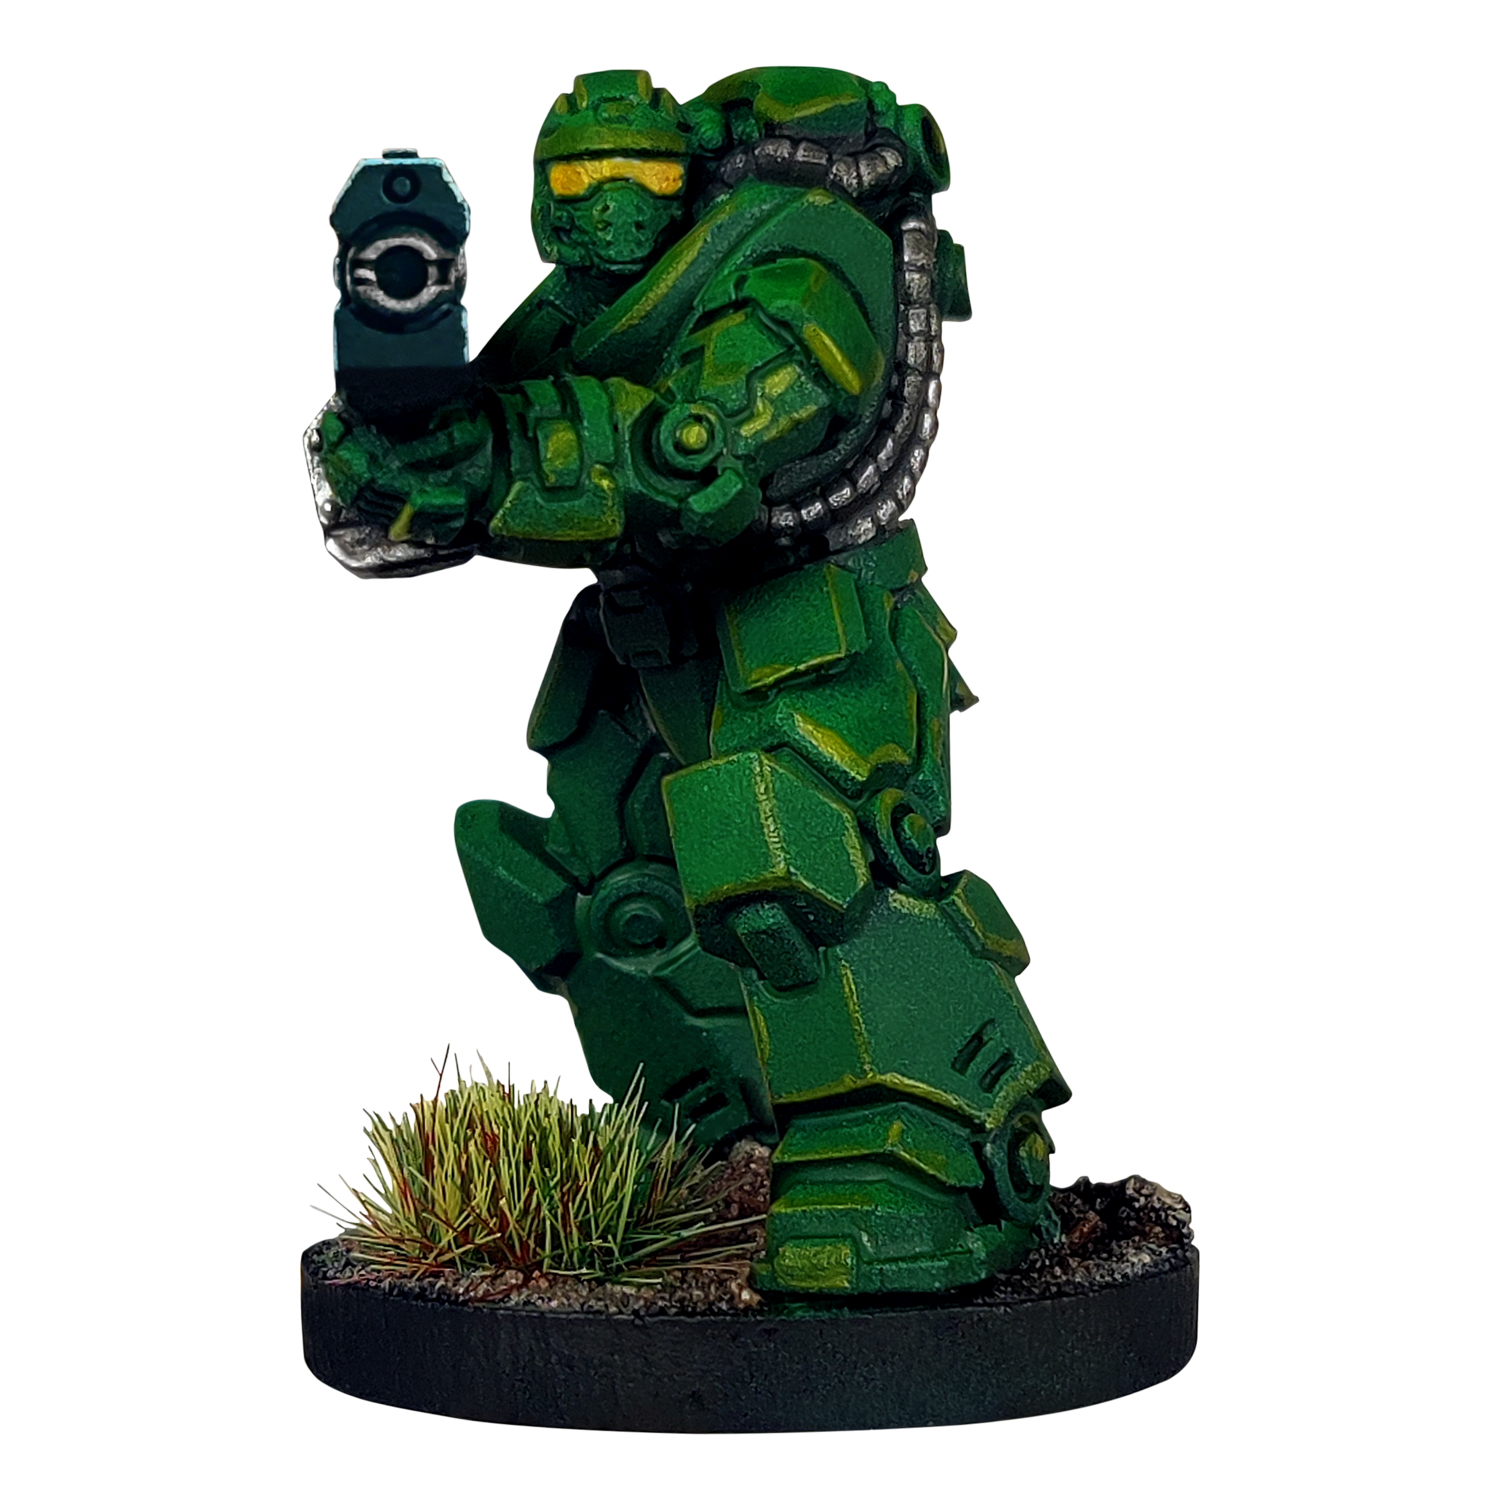
To finish up, paint the visor with Citadel Imperial Fist Yellow.
Basing
Faces and bases make a miniature, so of course we want to finish up with the perfect base!
Start by supergluing medium to large pieces of rocks on the base using our Medium Basing Rocks. Then, cover the rest of the base in PVA glue and pour over some of our fine grit Basing Sand.
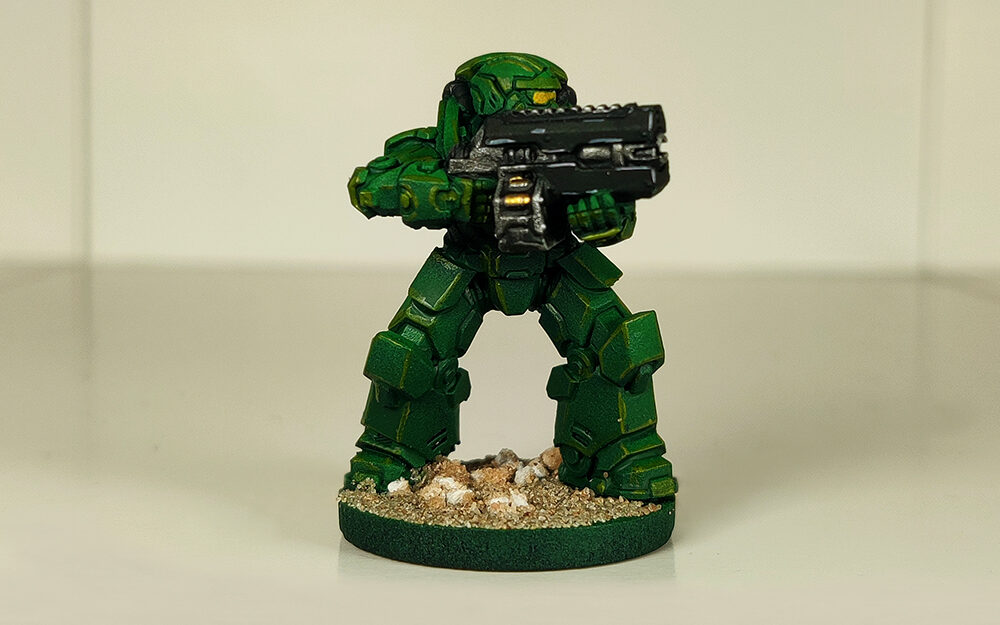
Washing the whole base using Darkstar’s Murky Mire wash. Then, dry brush the base using Citadel Terminatus Stone.
Finish it up by painting the rim of the base black and place a green tuft.
And there you have it! A super quick way to go from grey plastic to a fully painted mini that’s ready for the tabletop. Run through these steps in batches with your entire force to make the most of this method, and get an entire force painted in an afternoon!
Interested in getting your own force painted up in an afternoon? Grab any of our 3 spray primers and grab yourself a discount while trying out the tutorial.