
How to Make Slapchop Even Quicker
- Posted by stuartl in Colour Matched Spray Primer
- No Comments
We all know the struggle of getting an army up to tabletop standard but not having enough time to do it. If only there was a way to get that army looking good without sacrificing all your free time…
Well, you know it and you love it, and we’re here to improve on the great slapchop method! Slapchop is the speed painting technique that can get your army painted in an afternoon with minimal effort. Not seen this technique before? Then are we gonna blow your mind!
So what is slapchop? Slapchop’s been around for a couple of years now, pioneered and promulgated throughout the community by many great content creators. It is where you prime your model either using a black undercoat and then dry brushing the edges with a light colour, usually grey or white to create a zenithal effect. Add some contrast paint or wash on top before picking out the details, and it’s really as simple as that!
Exciting, but if you’ve heard of, or even used, this technique before what’s the point of this blog? Is it just a handy little reminder? Well, not exactly. We’ve specifically designed a range of Zenithal bundles to make the slapchop method even easier (if you can believe it). We’ve created a bundle to cover any project, each with a complementary dark, mid, and light tone. You can check out our entire range here.
Let us guide you through that ever-sought-after unicorn, an even quicker and easier way to slapchop your minis, and get your army ready for the tabletop in no time.
Let’s get priming with Zenithal!
The dry brushing step of slapchop is by far the most time-consuming. It’s easy to mess it up, and let’s face it, it can get pretty dull after the 20th or 30th mini. So get that step in the bin, and replace it with spray cans. Easier, quicker, and more consistent.
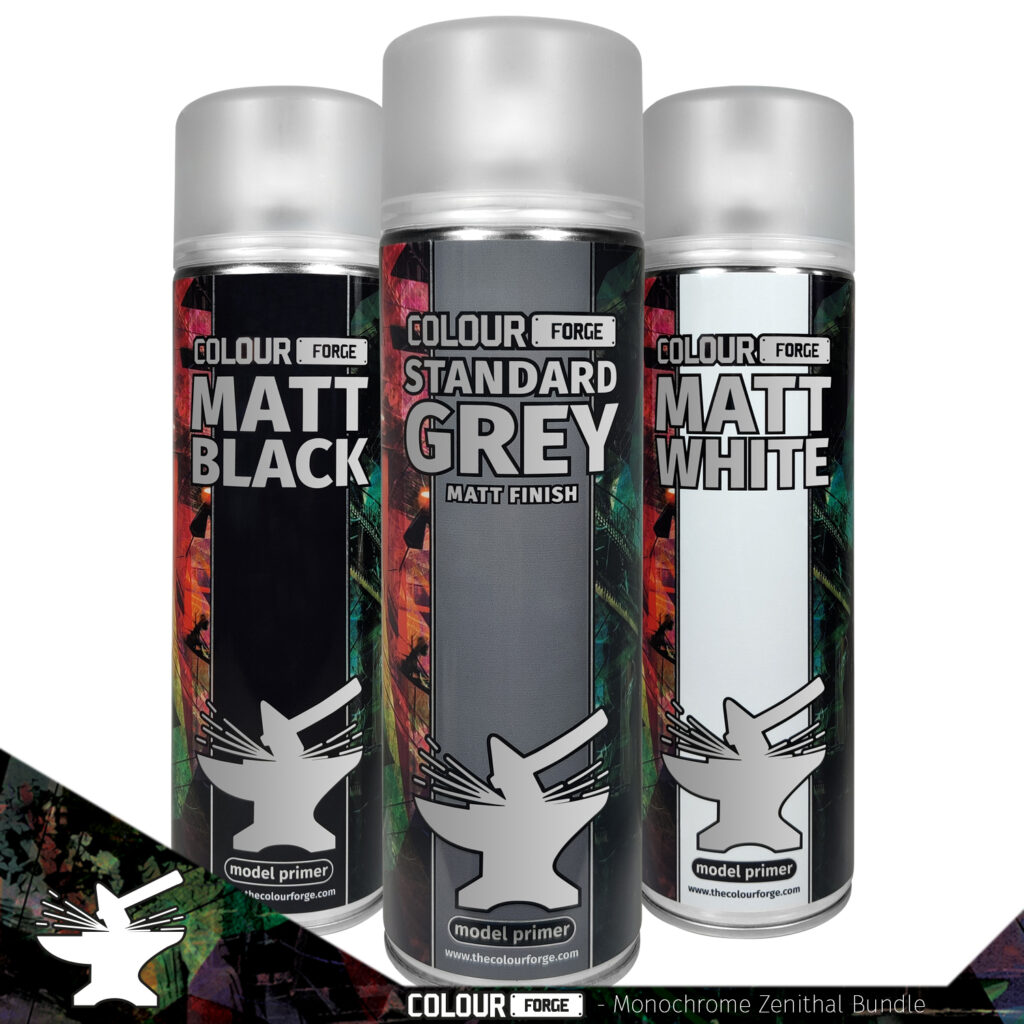
The most important foundation for a great slapchop is getting that perfect prime on your model. Of course, we’re going to suggest one of our fantastic Zenithal bundles for the best undercoat. Each one of our bundles comes with a base colour, mid-tone, and highlight, so it’s a no-brainer for that flawless prime for your army.
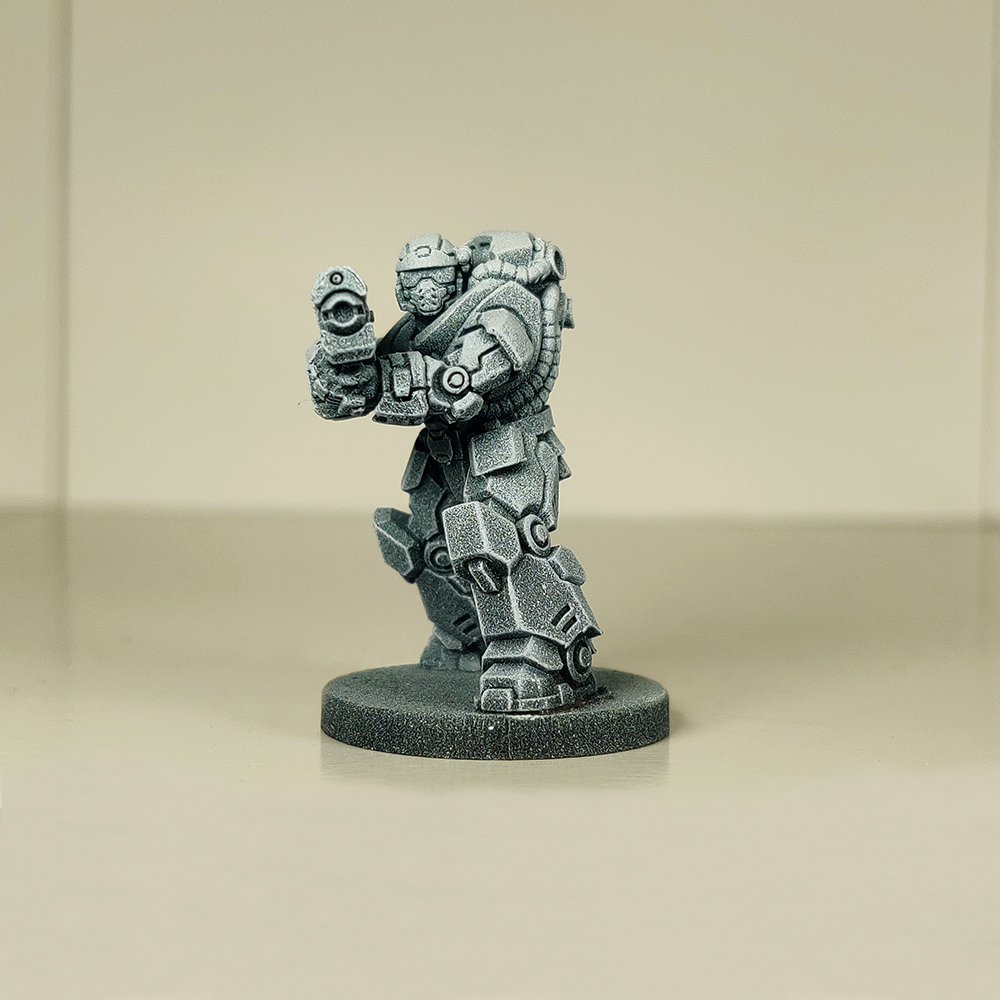
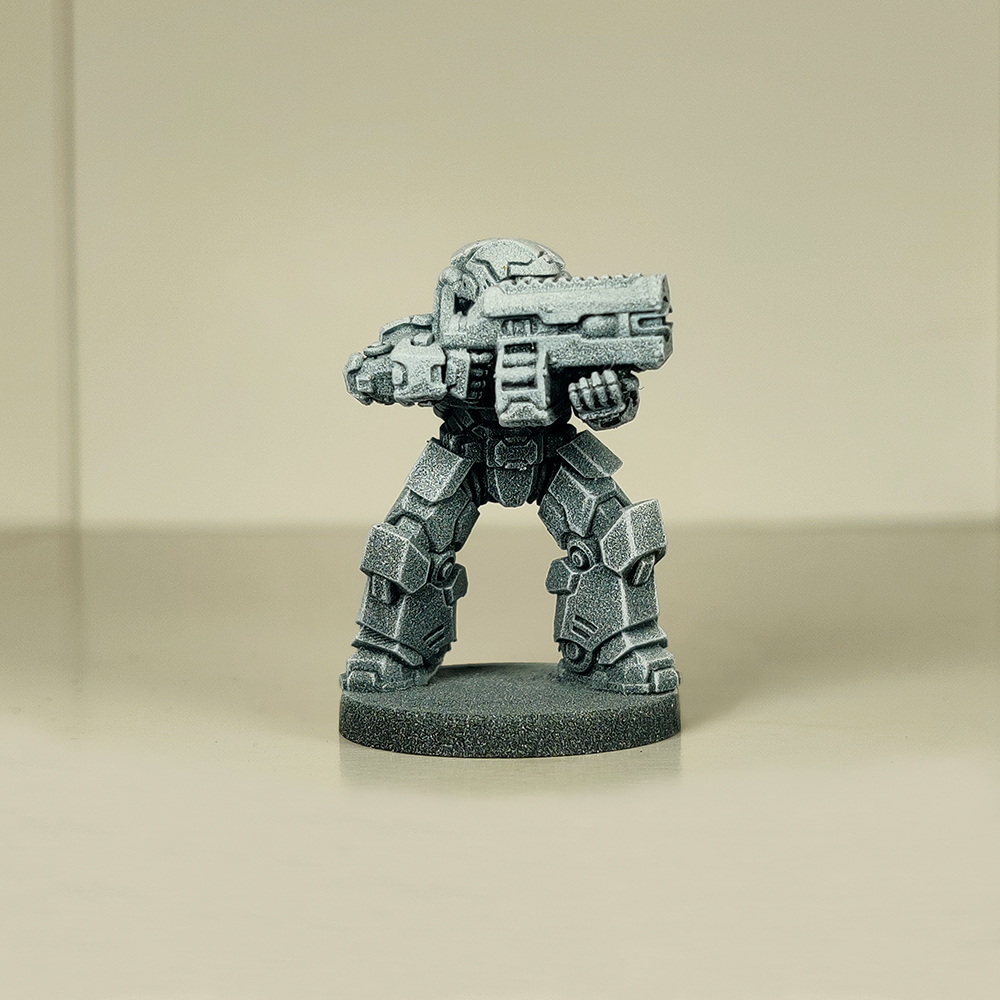
For our slapchop, we’ve used the classic Monochrome Zenithal bundle, which is Matt Black, Standard Grey and Matt White. For that great Zenithal effect, you want to start off priming your entire model in Matt Black, making sure to get that full, even coverage. For the mid-tone, you’ll want to hold your mini at a 45-degree angle (or thereabouts) and spray from one angle whilst you turn your model slightly. In this case, we’ve used Standard Grey.
Finally, we want to use the light tone to catch the top details of the model. Here, we’ve used a quick spritz of Matt White aimed directly above the mini to get that final look.
Optional Step: Dry Brush
With a zenithal underlayer, dry brushing isn’t an essential step. However, if you want some greater contrast between the lights and shadows on your model, feel free to add in this optional step! Be warned that it will add some extra time onto your speedpaint, so approach with caution.
I’m sure we don’t need to tell you, but in case you need a refresher, make sure you get most of the paint off your brush before you start.
Start off with a light layer of dry brush over your model, making sure to go over it and catch as many edges of the model as you can. Then, check to see if there’s enough contrast for your liking, before adding any additional layers of paint.
Get Painting!
Now it’s time to add that contrast magic to your mini! We’re using Citadel Contrast Paints, but any sort of washes will work well for this part of your paint job.
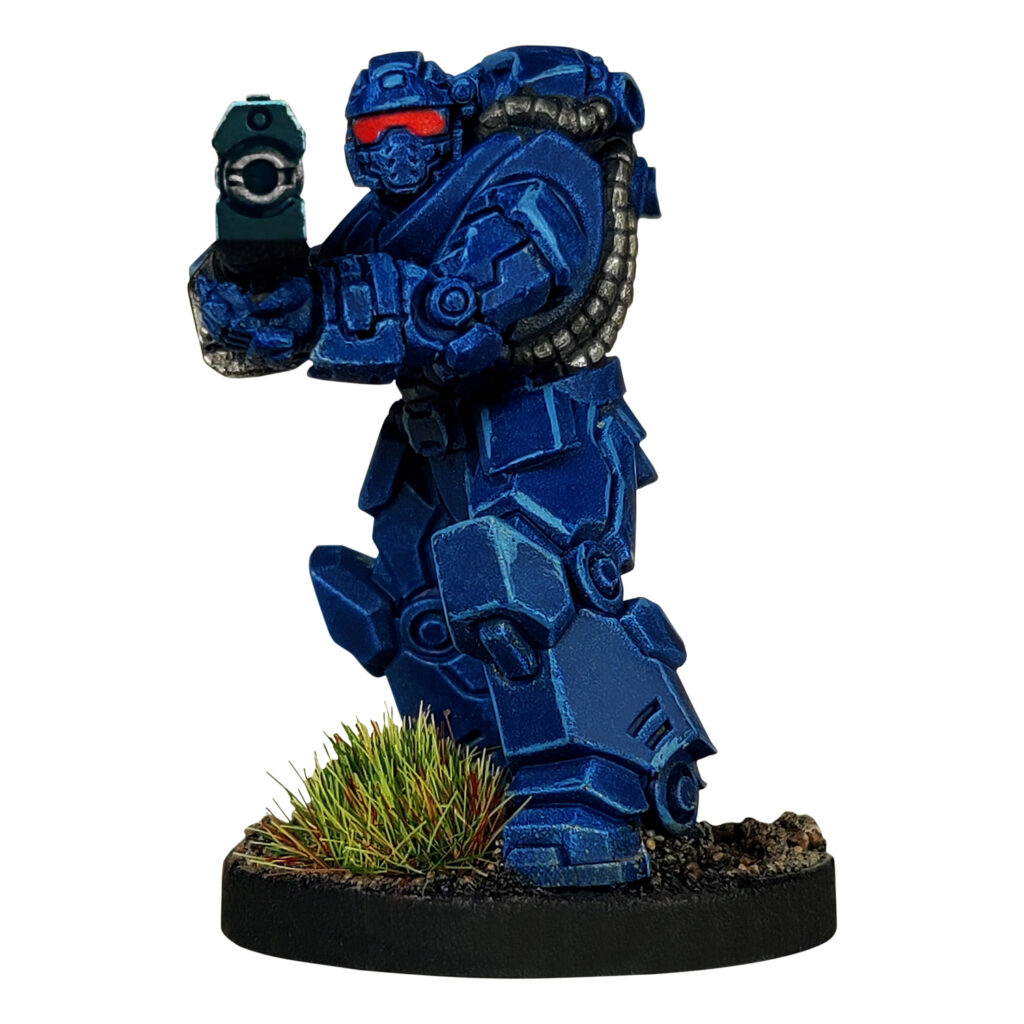
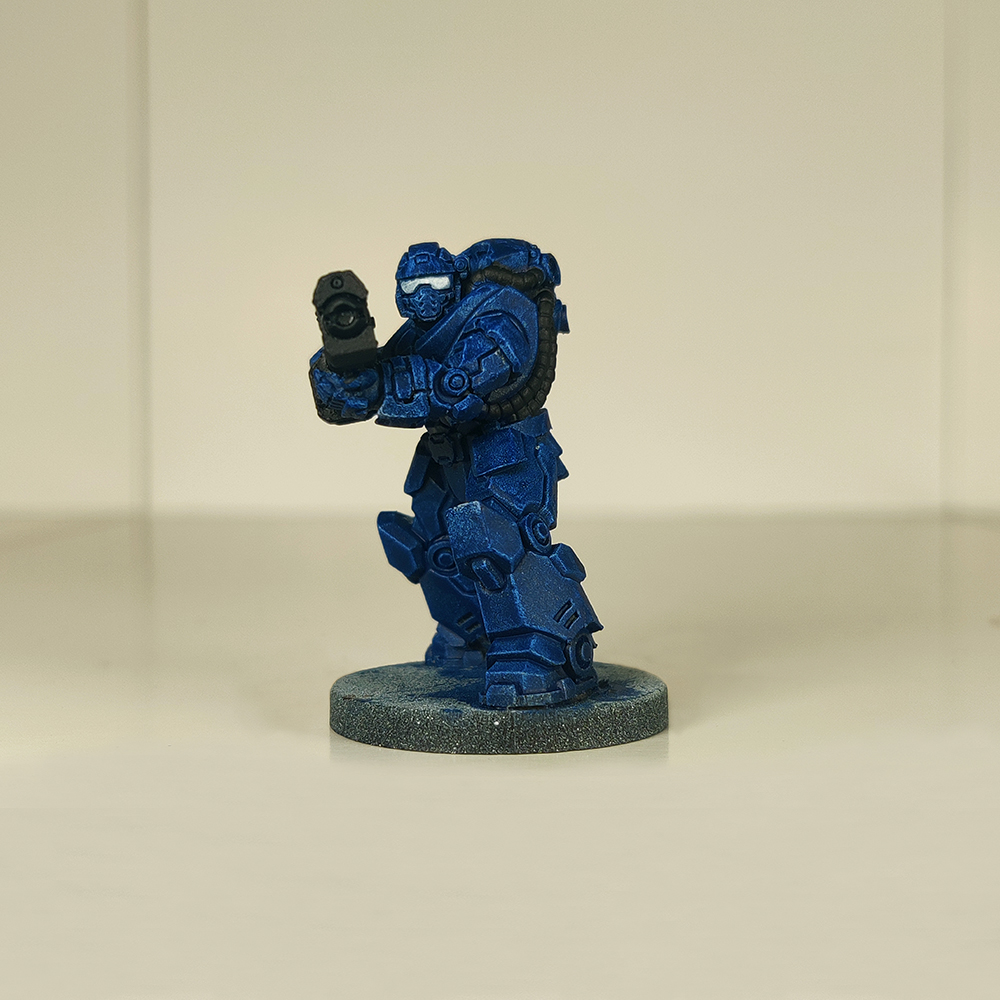
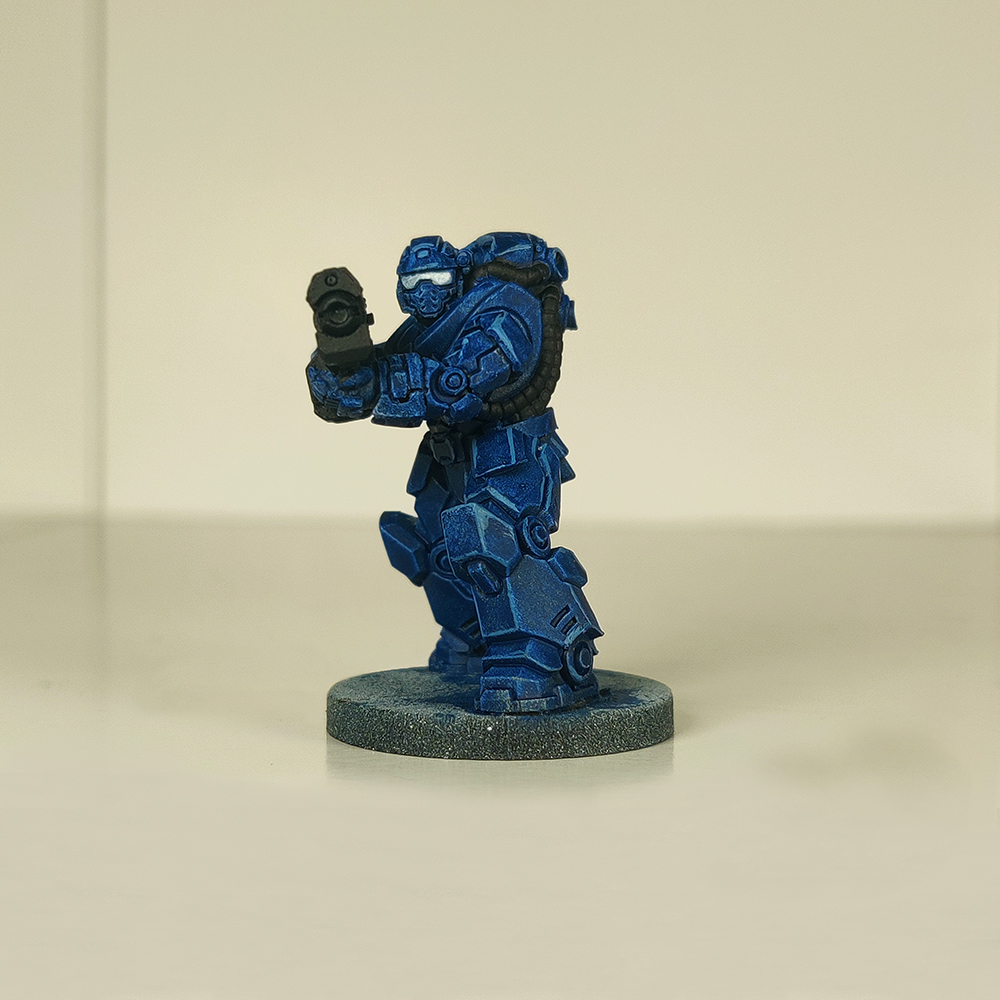
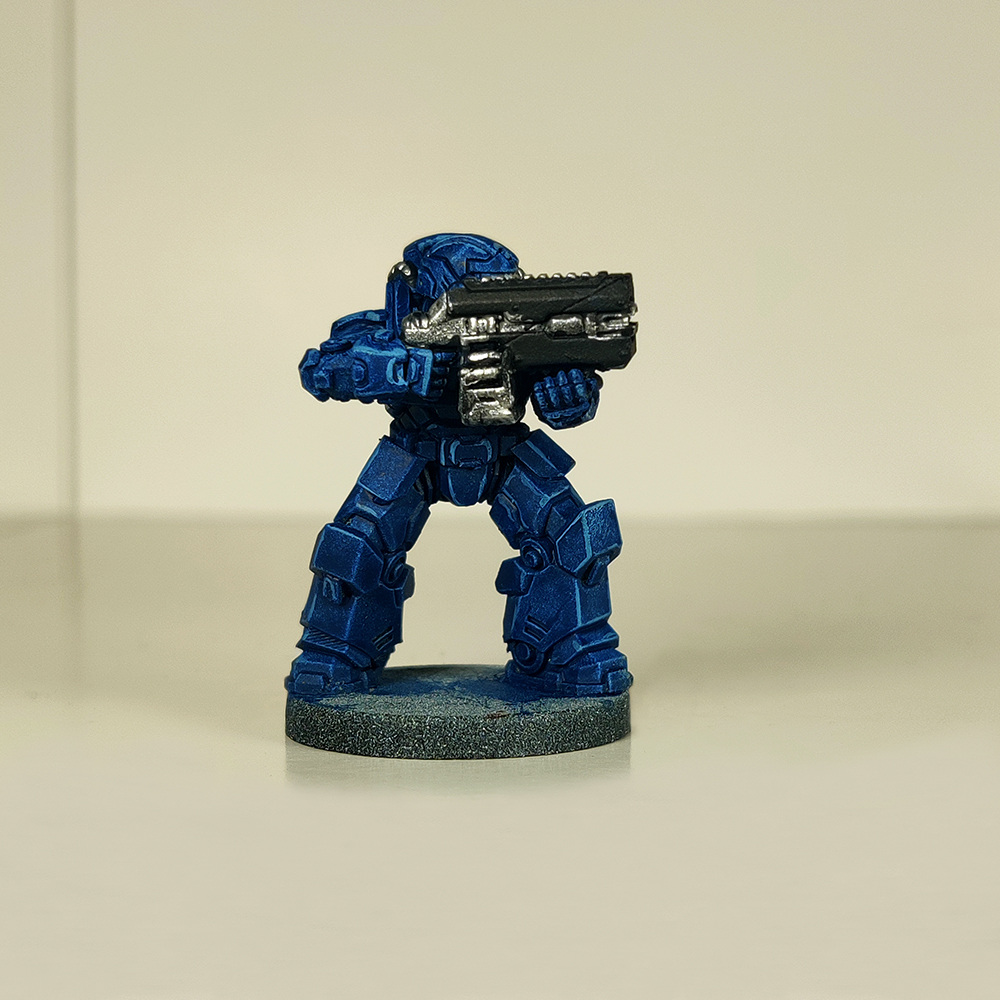
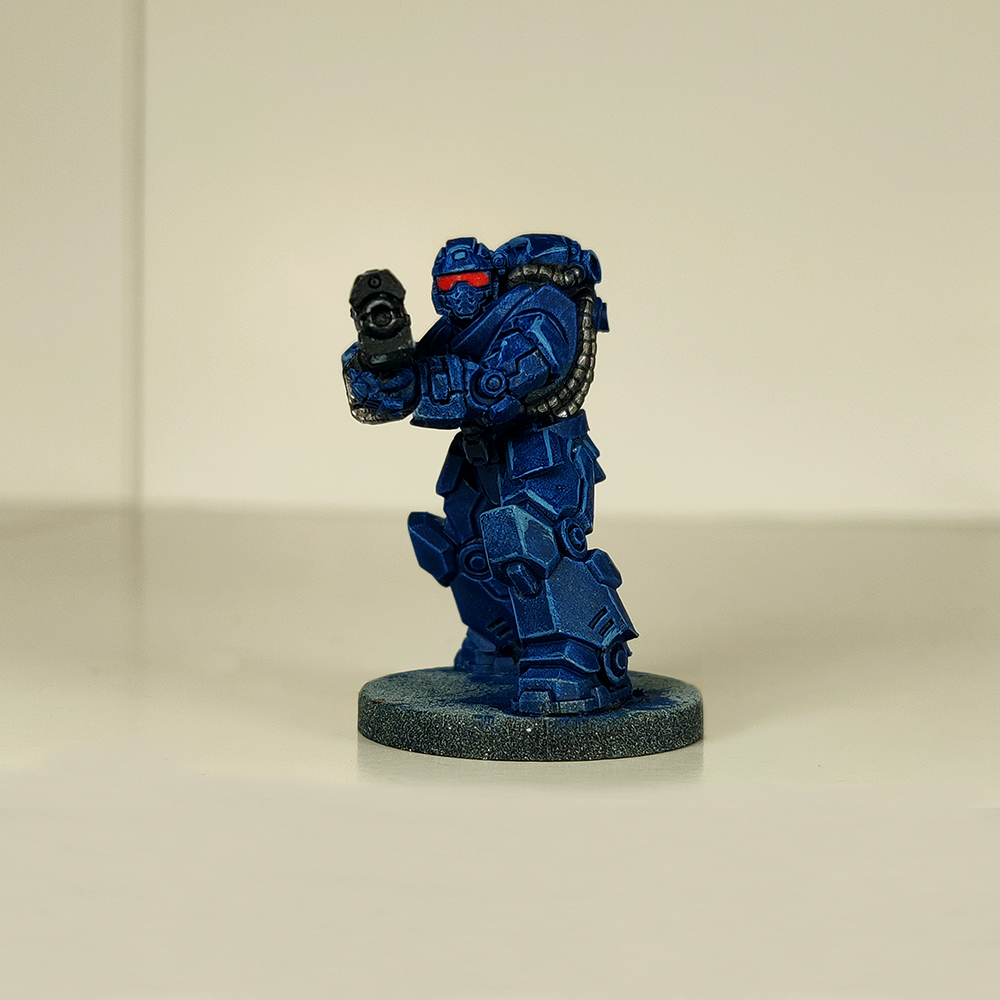
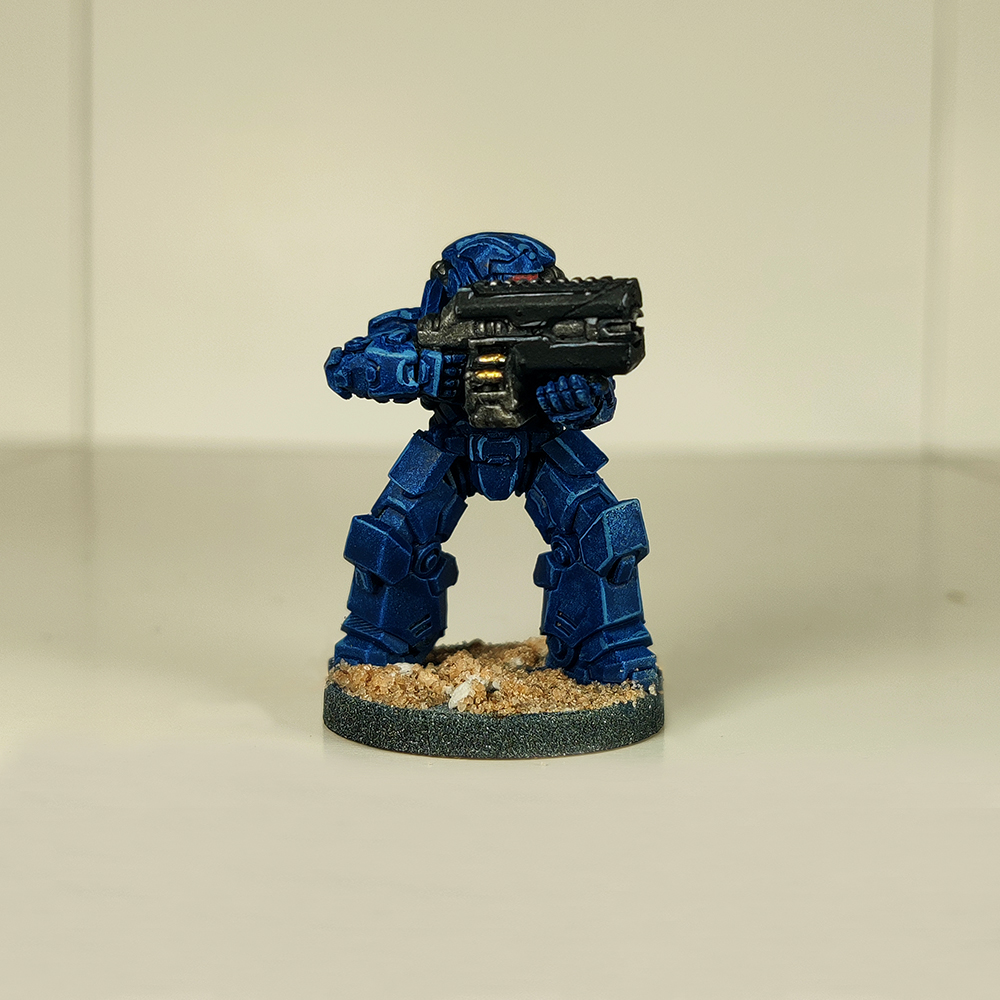
We’re using Citadel Ultramarines contrast paint, using it to cover the entire model, making sure to get the paint into the recesses. This will also build up the natural highlights and shadows quickly and easily.
Next, it’s time to block out any of the details that aren’t part of the blue armour, which includes any weapons, pipes or metallics. We also painted the visor in white.

Edge Highlight
For the edge highlight, we’re going for speed here rather than absolute precision! So, rather than meticulously painting each edge, we focused on the main edges that would catch most of the light. We used a 50/50 mix of white and Citadel Ultramarines Blue for the edge highlight, and we’d suggest you use a 50/50 mix of white and whichever colour you’ve used for the main body of your miniature.
Pick out the Final Details
Now your miniature should all be coming together, and it’s time to add the finishing details to make your model stand out on the tabletop.
Start with picking out the metallics. We’ve used Darkstar Molten Metals Silver to cover the gun sections and the pipes. Then, wash these areas with Citadel Nuln Oil.
To finish up, we painted the visor with Citadel Blood Angels Red.
Basing
No miniature or army is complete without a base!
Start by supergluing medium to large pieces of rocks on the base using our Medium Basing Rocks. Then, cover the rest of the base in PVA glue and pour over some of our fine grit Basing Sand.
Wash the whole base using Darkstar’s Murky Mire wash. Then, dry brush the base using Citadel Terminatus Stone.
Finish it up by painting the rim of the base black and placing a green tuft
And that’s how you slapchop! Your miniature has gone from boring grey plastic to a tabletop-ready mini with minimal effort and time. Now you’ll be able to run through your entire force in no time, meaning your army will be ready for the tabletop in a day.