The Difference Between Light Vs Dark Sprays
- Posted by stuartl in Colour Matched Spray Primer, Tutorial
- No Comments
We’ve spent a lot of time and effort getting the perfect ratio of pigment to propellent to make sure you get the best out of our spray paints. Because each of our sprays has this unique composition some of them require slightly different instructions than others.
Does this mean our sprays are difficult to use, or inconsistent? Nope. On the contrary, part of searching for these perfect ratios is down to our need to not only provide incredible colour with each spray, but brilliant coverage and consistency. And with the instructions stuck right on the side of each can, it couldn’t be easier to use our spray primer and get the most out of them.
Lighter Colours
Due to scientific reasons, white paint is traditionally harder to work with. Some say it’s due to the pigment size of the paint, others say it’s the large particle size. Up in the marketing department, we call it paint wizardry! But whatever you want to call it, you’ll need slightly different instructions when using lighter spray paint. Specifically with our Matt White, Wight Bone, Ossified Earth, and Ghoul Grey.
For the best possible coverage, make sure you spray in optimal conditions. That means the temperature is low 20s (celsius) and ideally 40/50% humidity. You also want to prep your spray can before you paint.

The best way is to warm your can up in lukewarm water for a few minutes, either in a bowl or Tupperware, whatever you have on hand! Then, make sure you shake your paint can vigorously for at least 2 minutes. All of this ensures the pigment and the propellent are properly mixed and ready to use.
Once your can is fully primed, you can start priming your models! It might be tempting only to use small bursts directly face-on due to fear of drowning your model in paint. BUT this can actually cause speckling, as the paint could dry in the air by the time it hits your model!
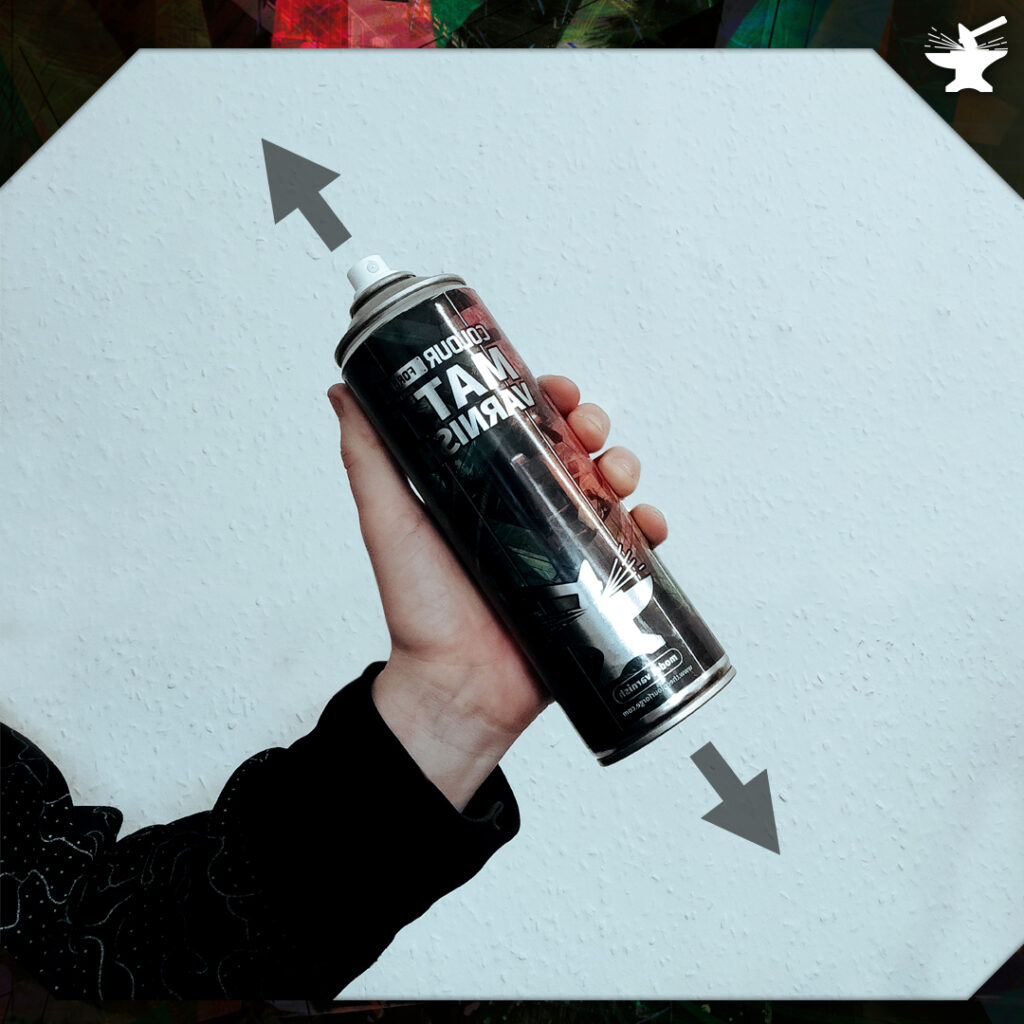
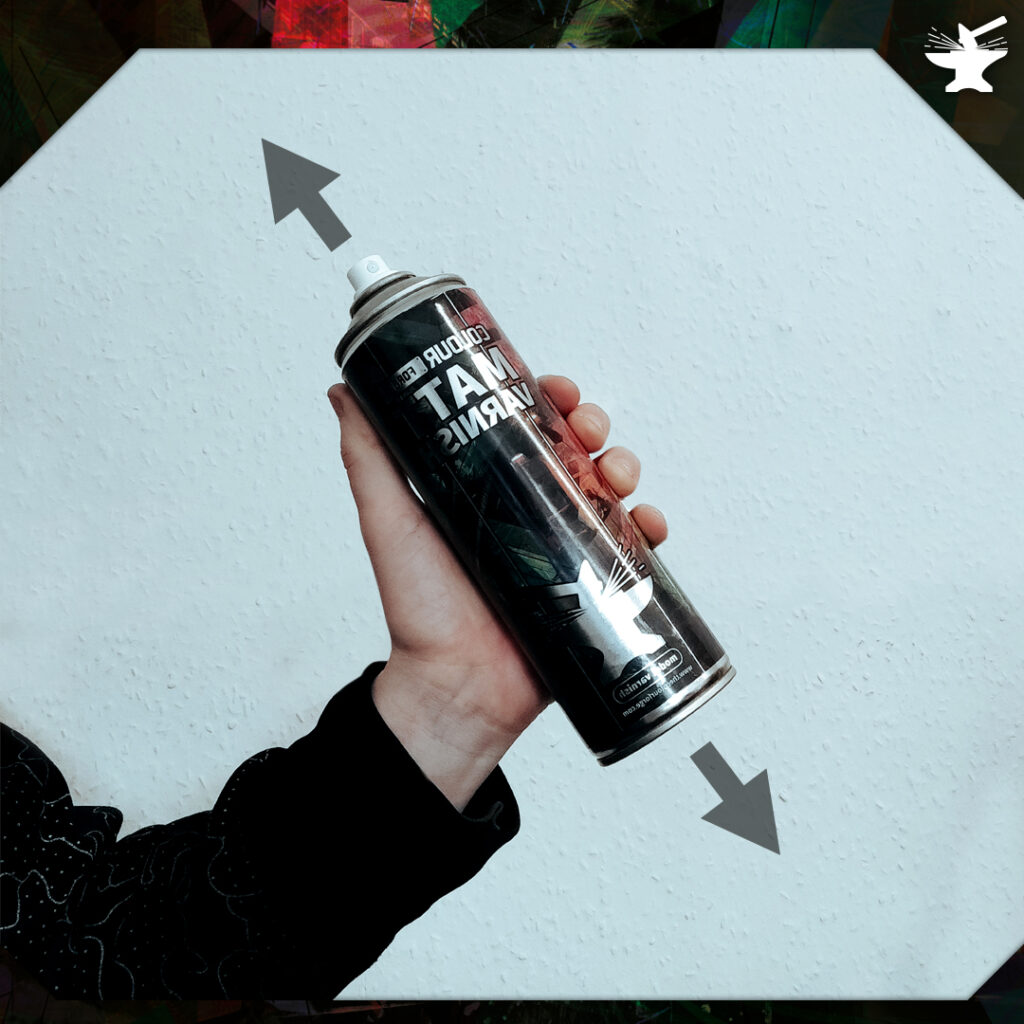
For lighter colours, you want to spray from 20-25cm distance, as the particles in the paint dry faster than darker colours. For our darker or more saturated sprays, we suggest 25-35cm distance. Then, using a little bit of courage, you want to spray in bold sweeping motions across your model a few times. That way, you can saturate your model in paint without flooding the detail on the model. If you want to add more layers of paint, wait until your model is dry before going in again with sweeping motions.

Darker Colours
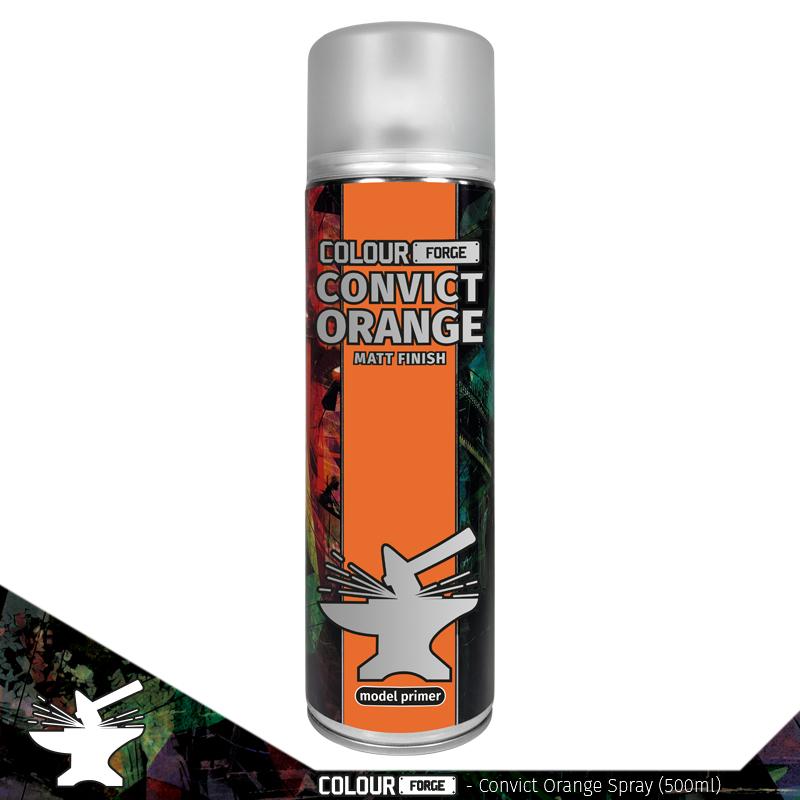
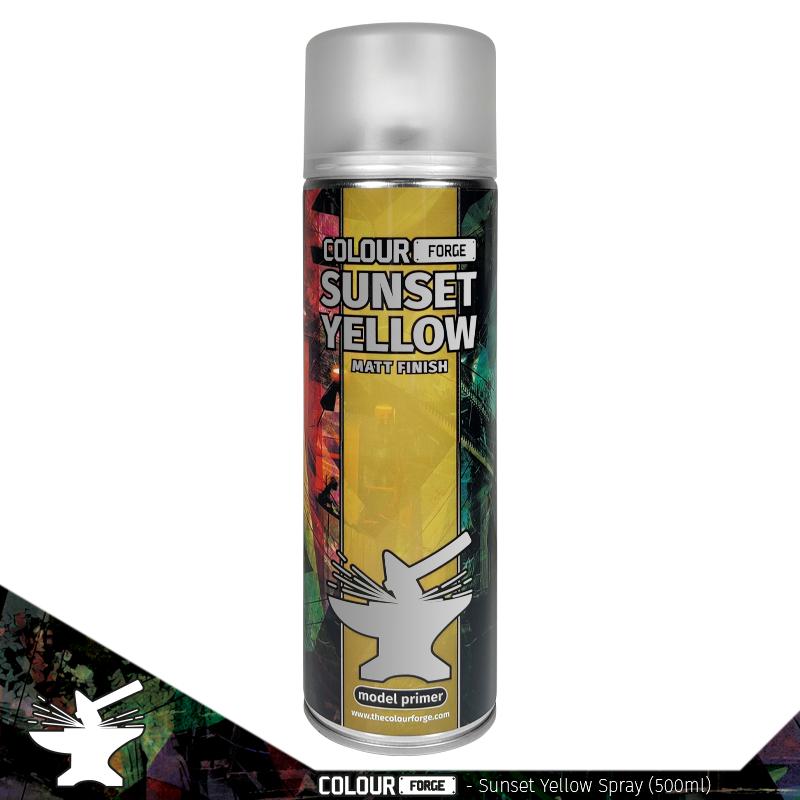
Darker sprays are much more robust, even in sub-optimal conditions! That doesn’t mean you can skip all the steps, but it does mean that you don’t have to wait for the perfect conditions to start painting. This even includes our Convict Orange and Sunset Yellow primers, which is fantastic news for those of us who have punished ourselves in the past with mainly orange and yellow paint schemes.


Finally, you want to keep that can as fresh as possible! Once you’ve finished spraying up your army, upend your can and hold the nozzle until it’s just spraying propellant. This way, you clear out all the gunk from your nozzle and make sure no pesky dried paint flecks ruin your next paint job.
And there you go! Now you’ll have the confidence to use our spray primers for all your projects!


